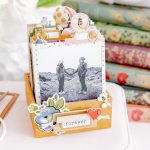
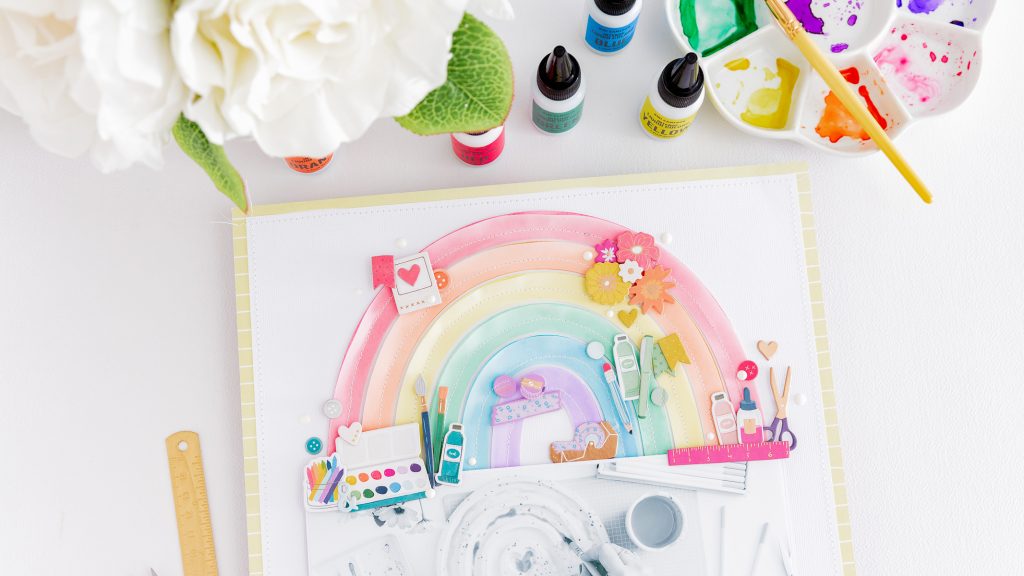
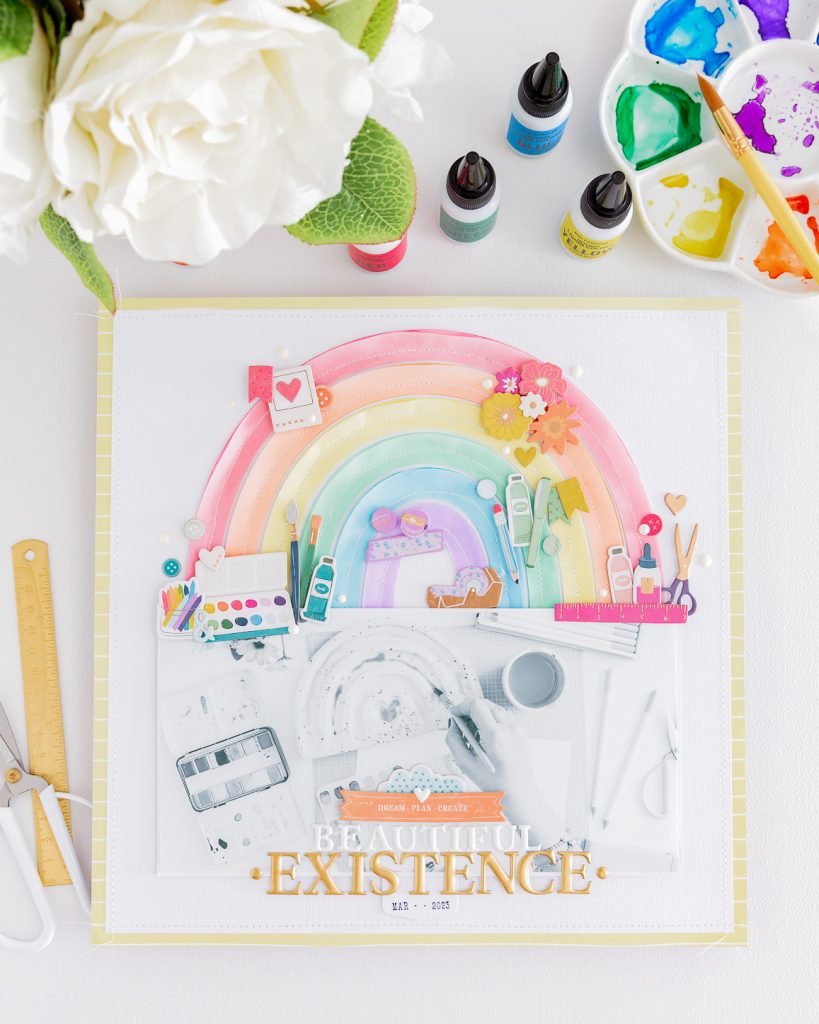
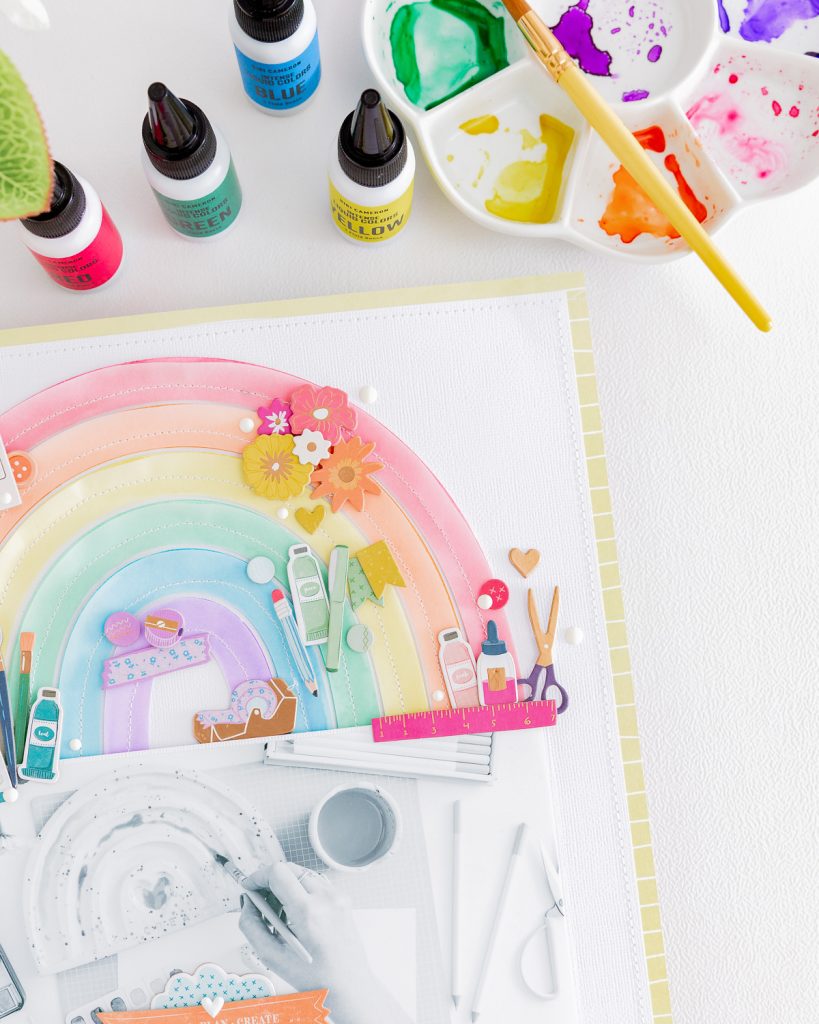
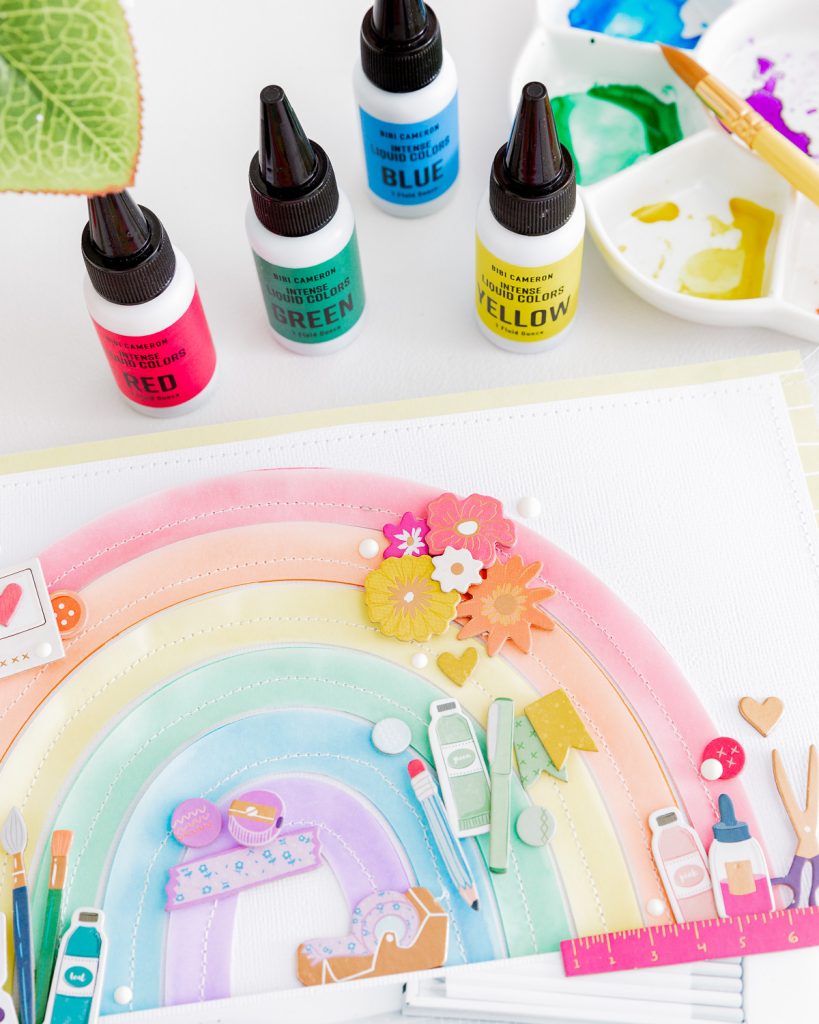
After creating the rainbow card with Bibi Cameron ‘s “Intense Liquid Colors” , I just had to come up with another rainbow-inspired idea! This time, I invite you to create this beautiful layout. Let that special and cherished memory take center stage in our creation! Shall we get started? I’m going to show you how to create this layout with watercolors.
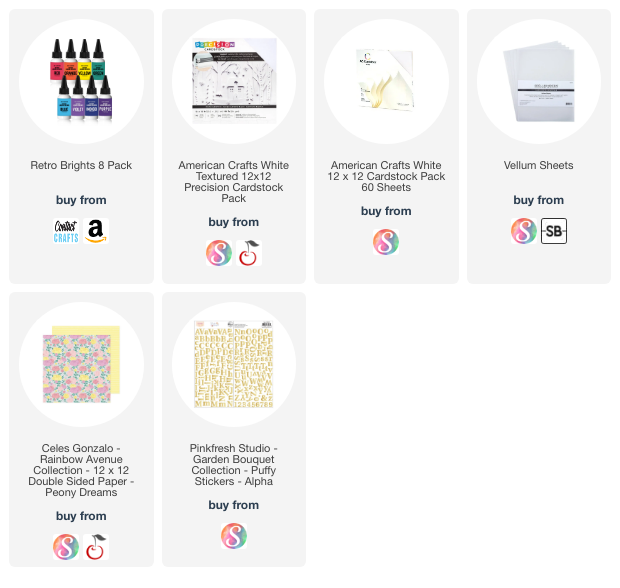
*** Complete Product list – HERE ***
Base of the layout:
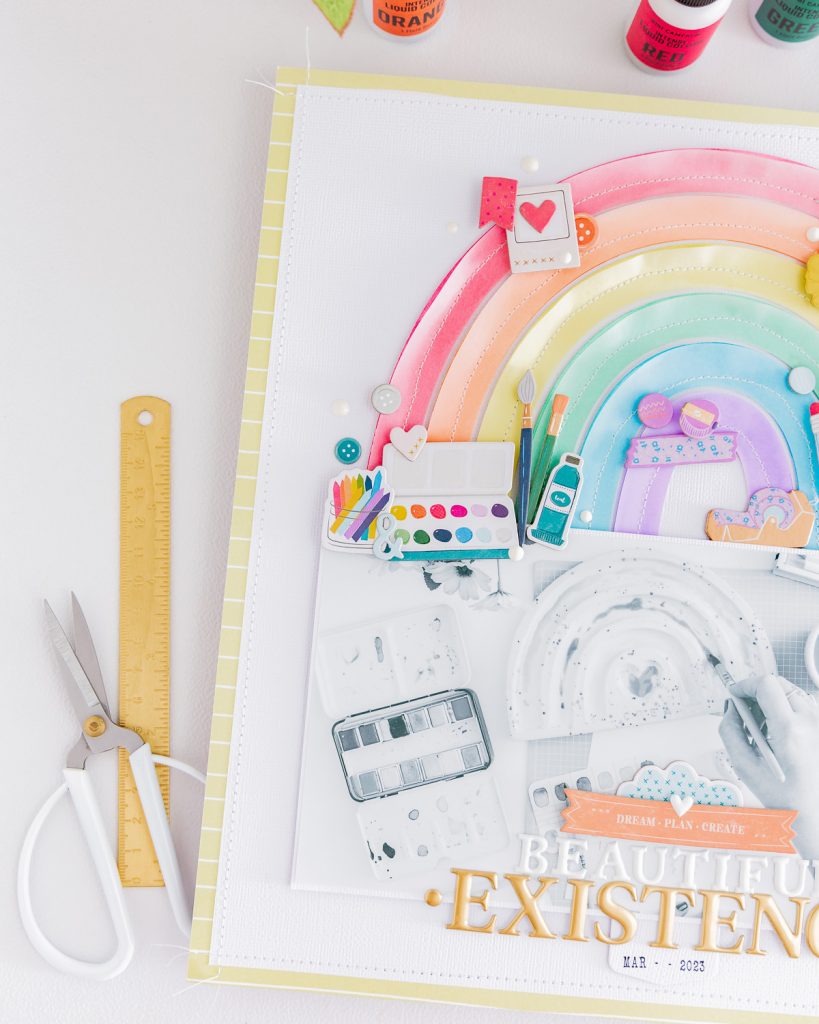
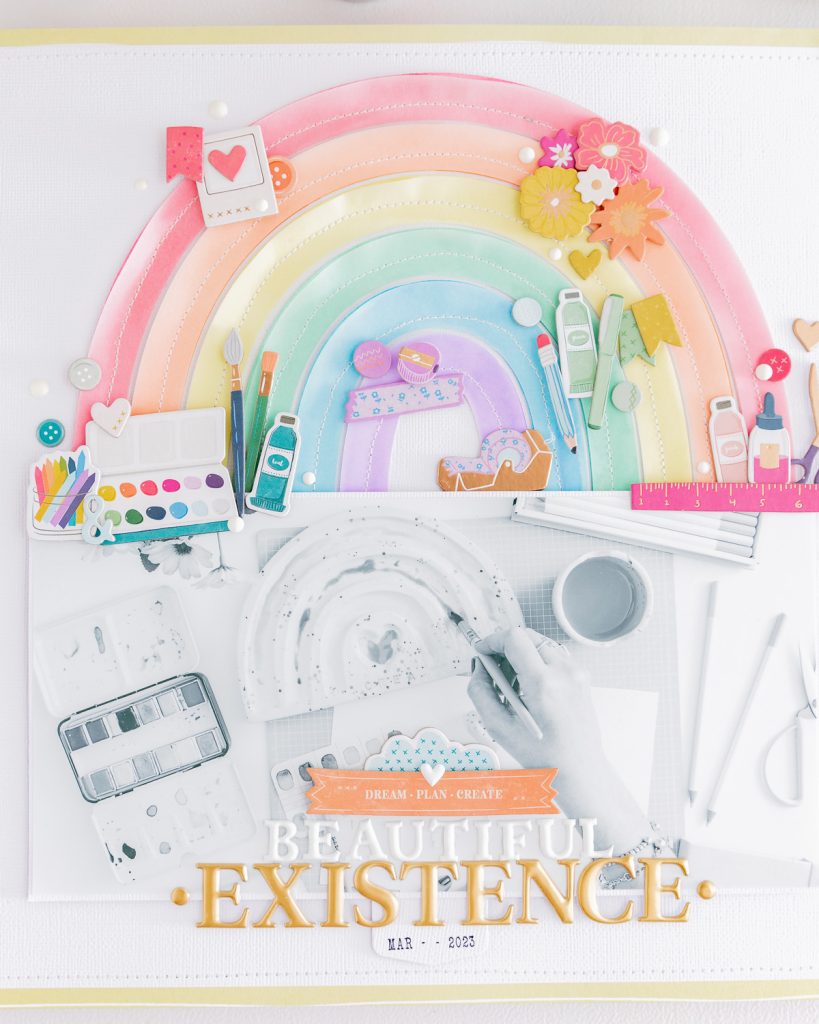
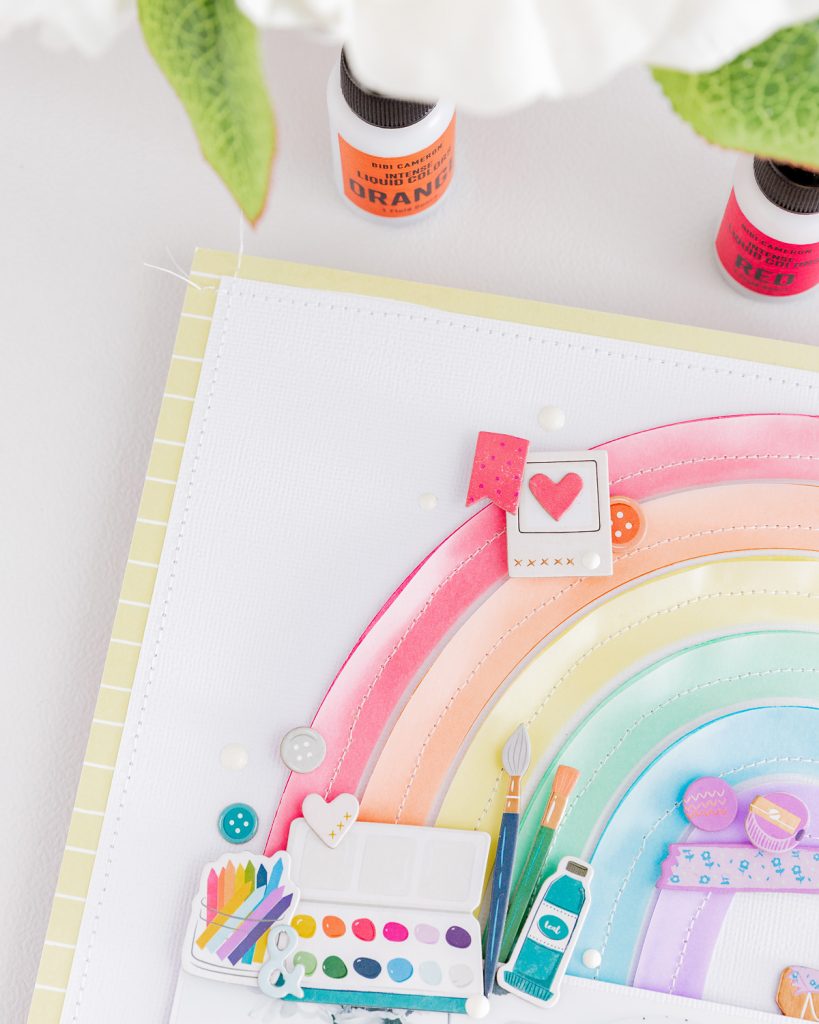
Dcorative details:
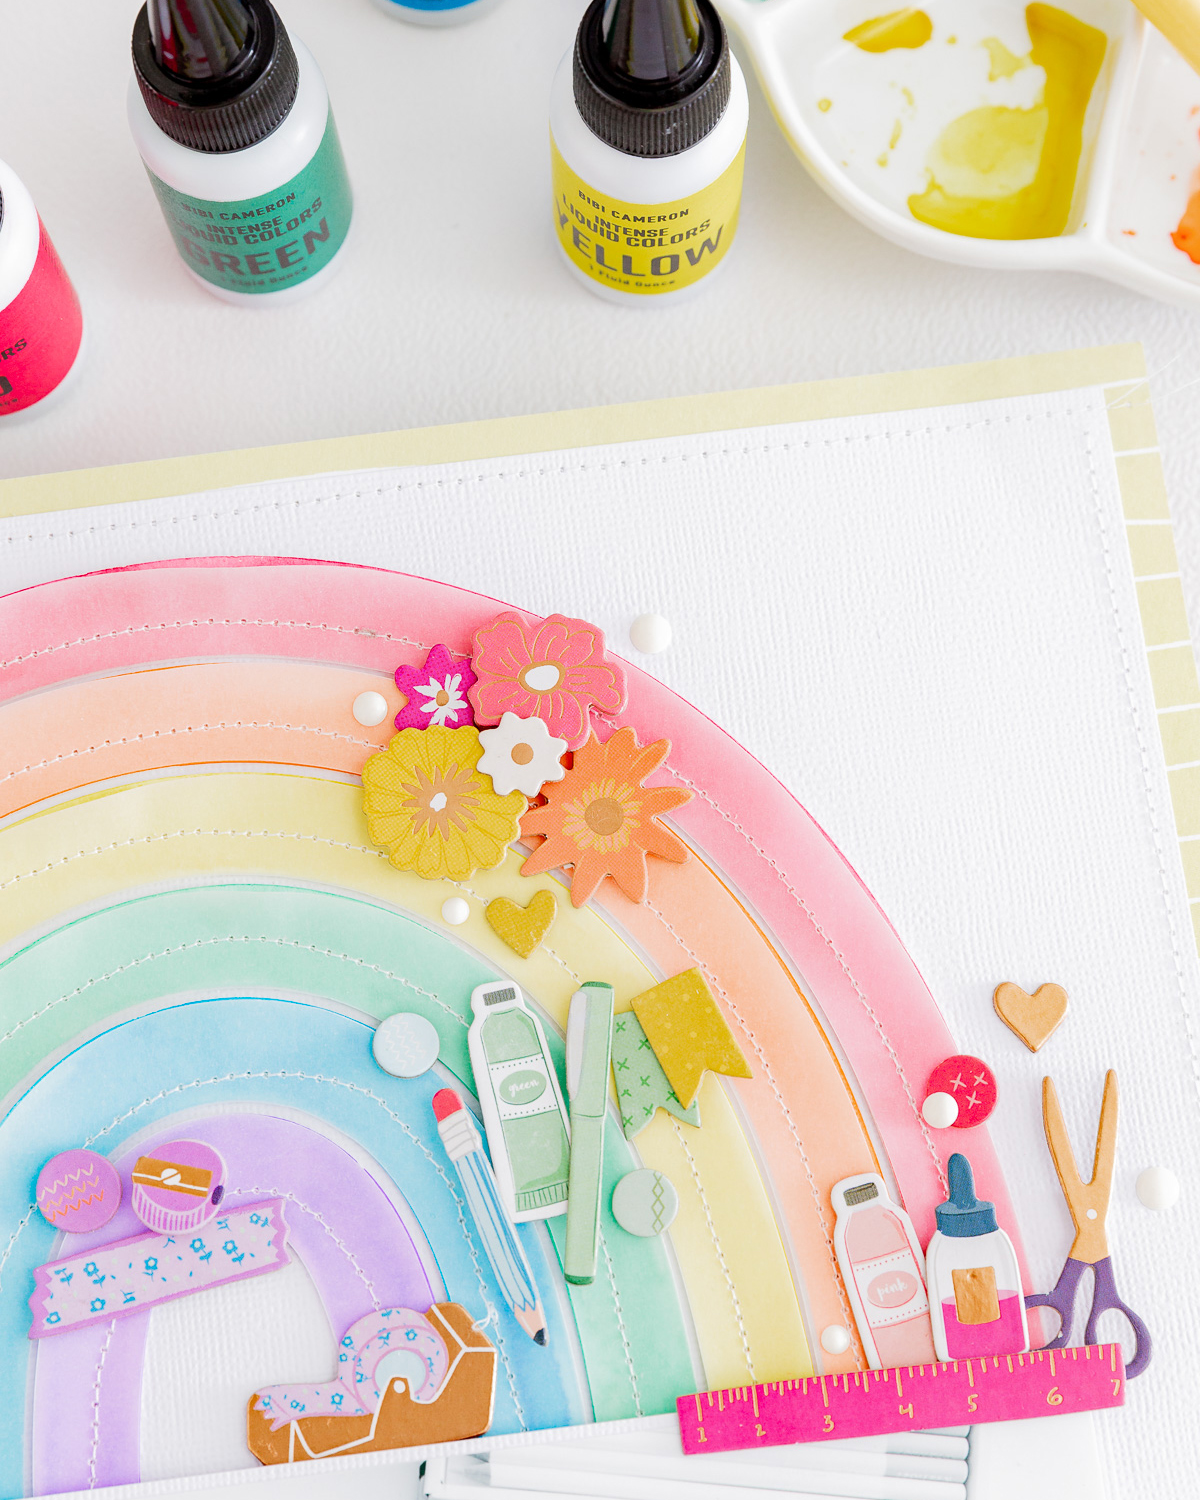
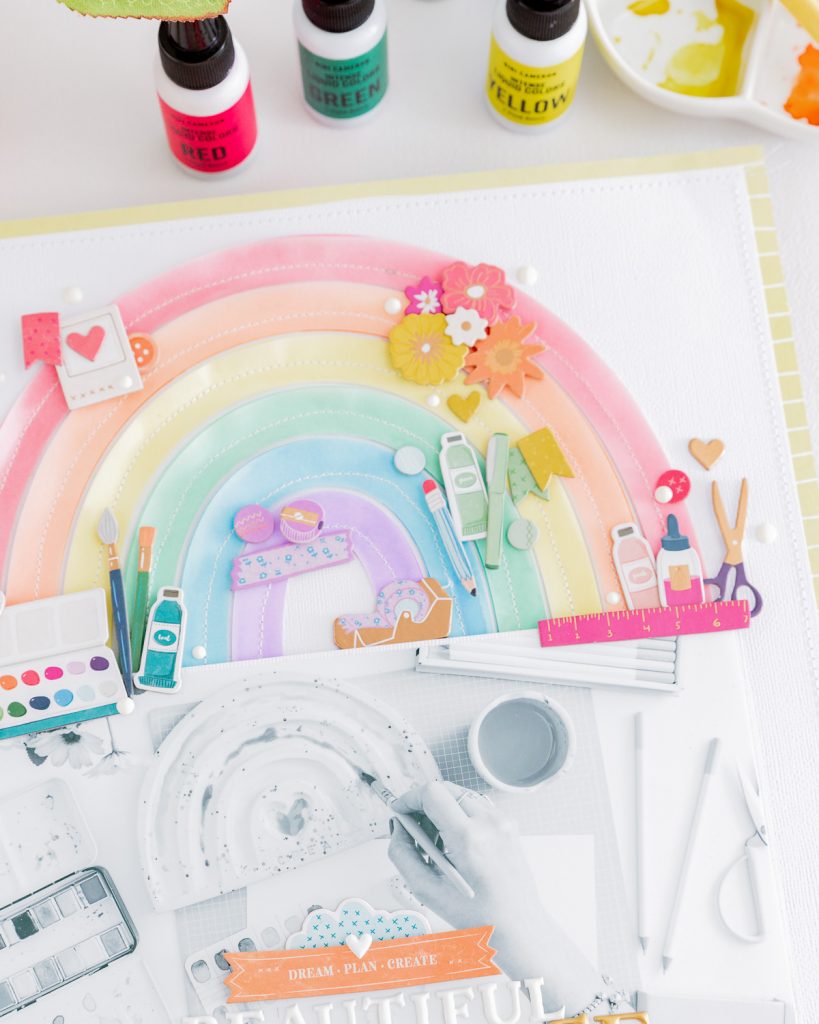
I think it’s a beautiful idea that allows us to play and have fun while creating with watercolors and other materials we already have at home. I absolutely love this watercolor set!
Watch the layout process in the IG Reel here
Thank you for joining me. See you!
Affiliate links apply at no extra cost to you. Thanks for your support!


 17.11.36")
")