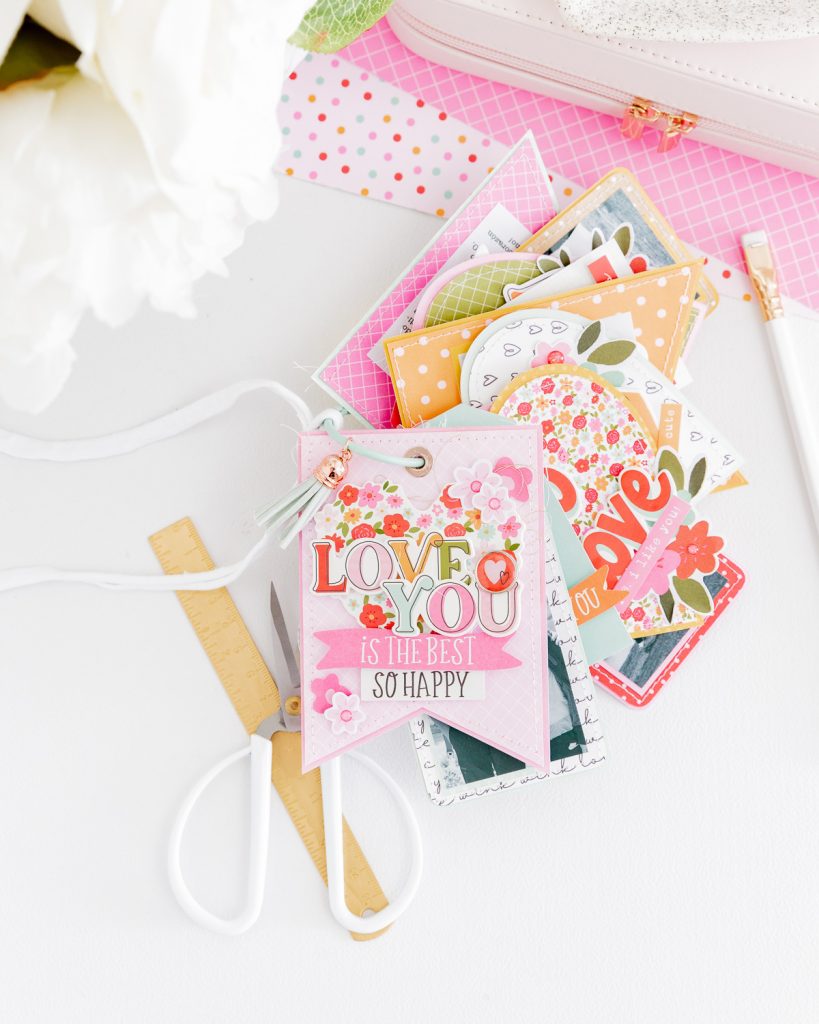
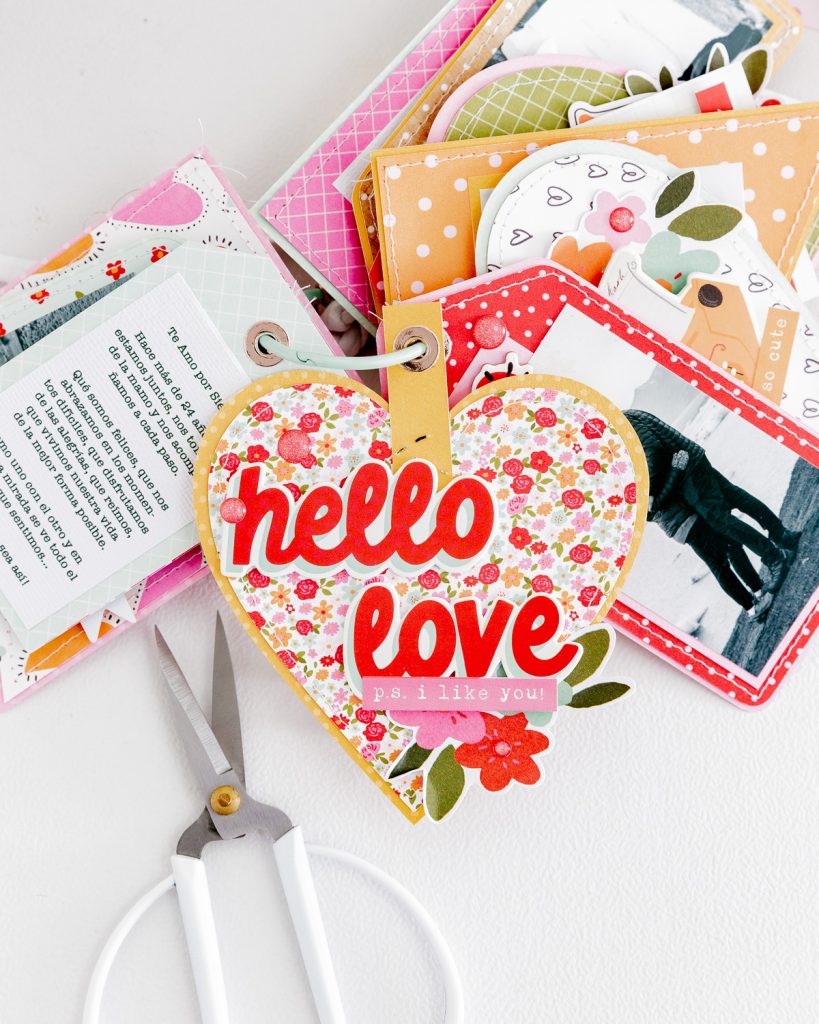
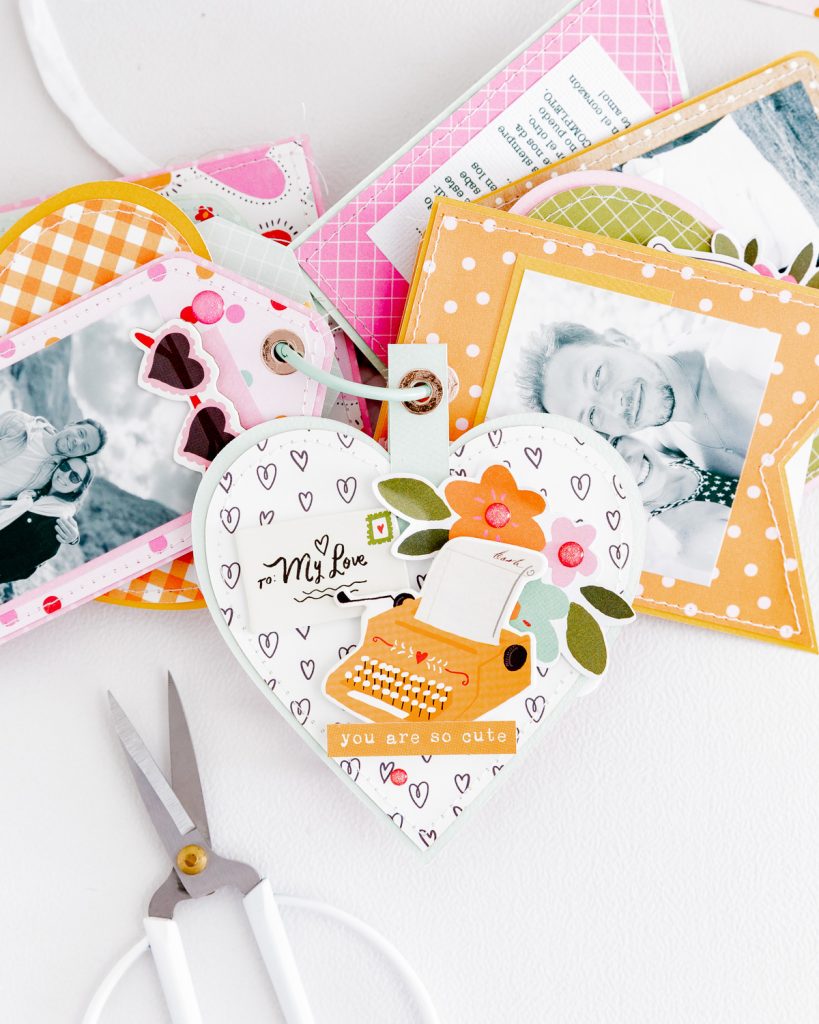
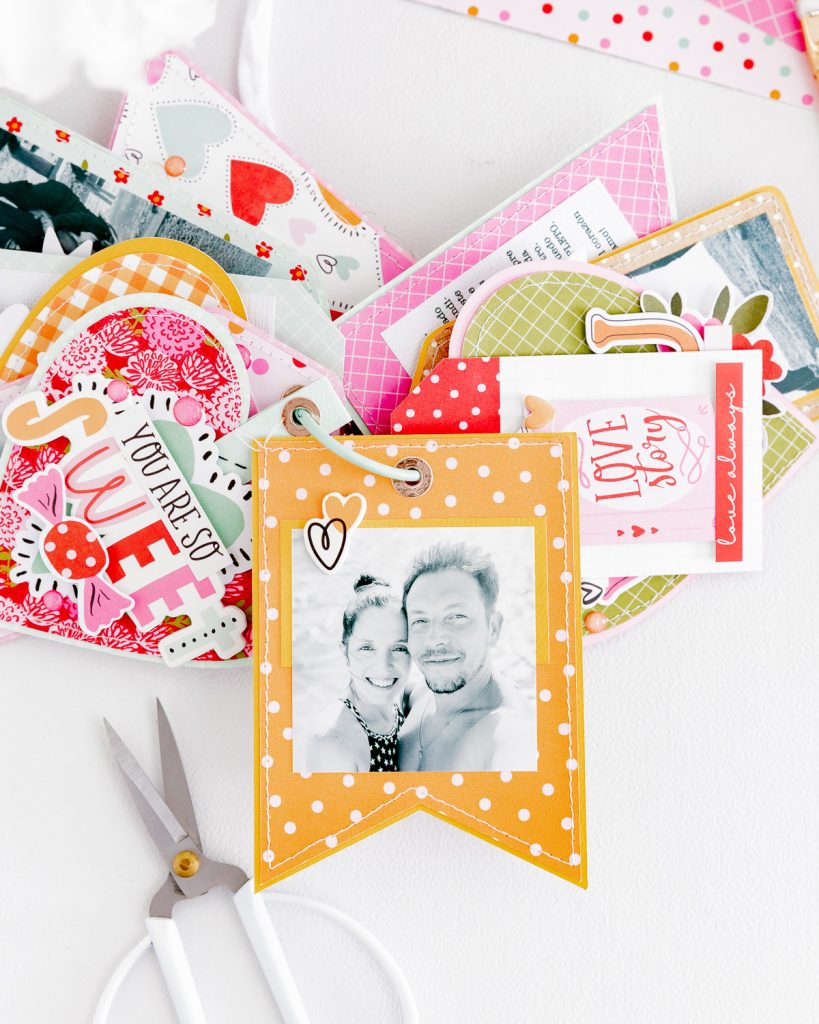
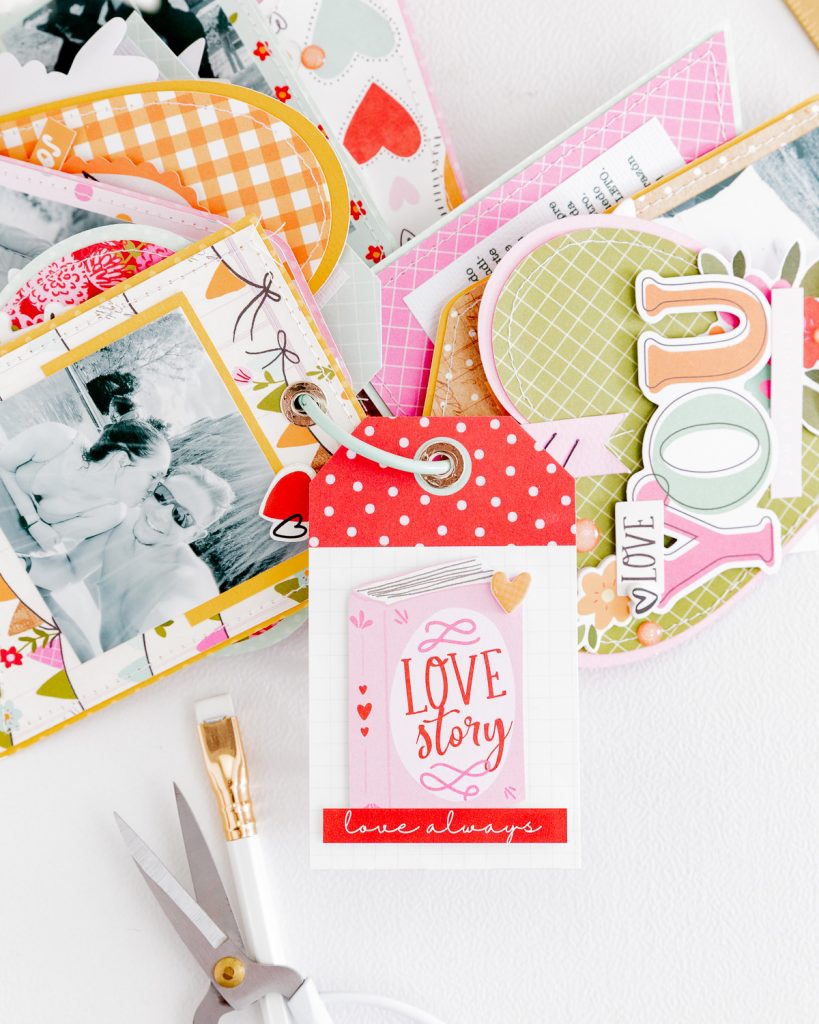
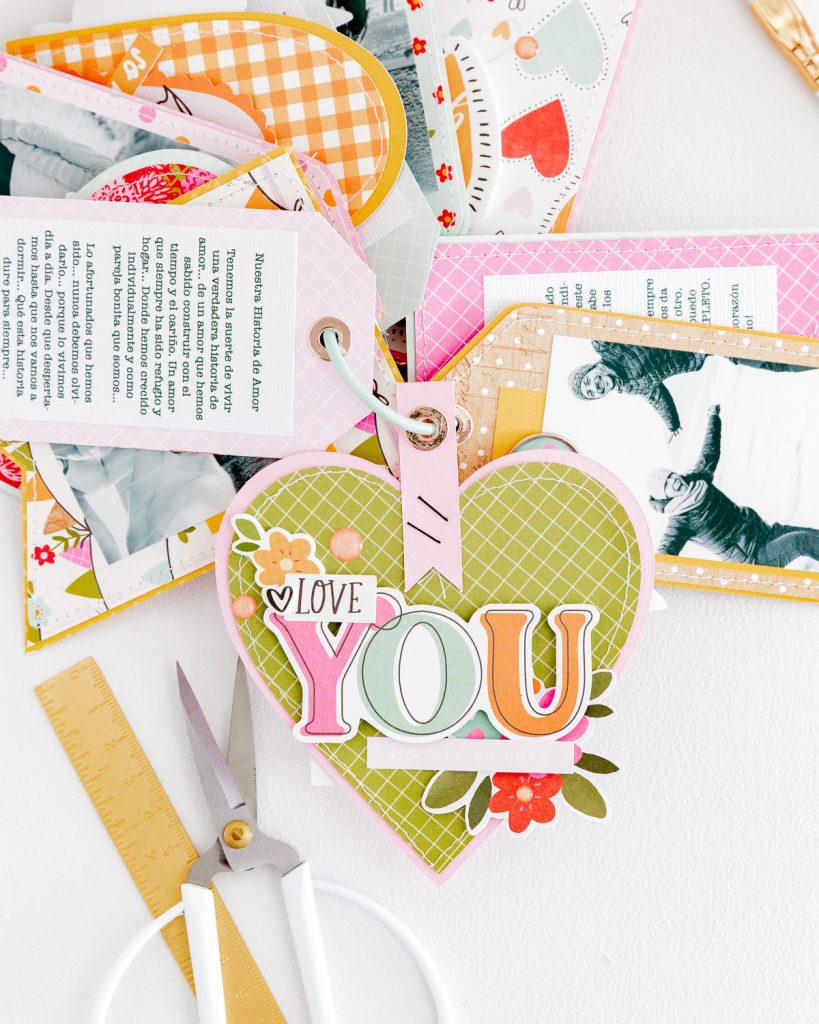
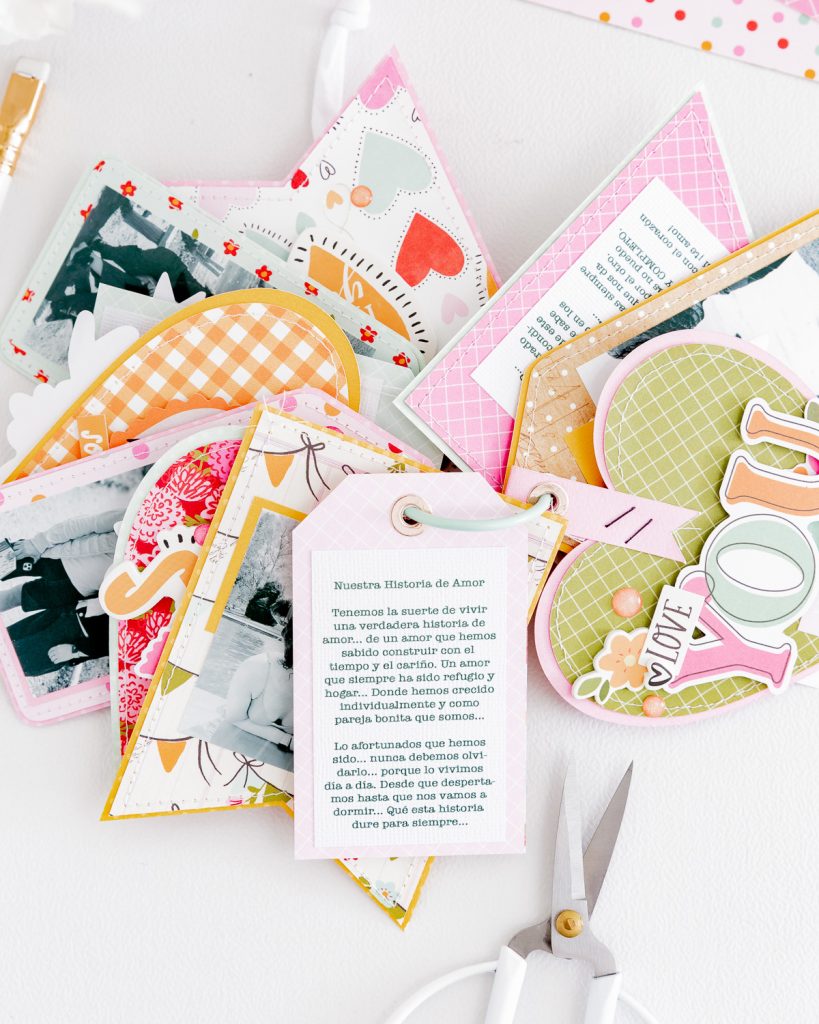
It’s time to get ready to celebrate the most love-filled month of the year! Shall we start with some ideas? Today, I have a very simple, original mini album ready for you—one that you can personalize as much as you like. I’m using one of Simple Stories’ new collections, HeartStrings—it’s absolutely gorgeous! Completely captivating! Let’s get started!
For today’s mini album, I used:
- Heartstrings 6 x 8 Paper Pad
- Heartstrings Sentiment Bits And Pieces
- Heartstrings Bits And Pieces
- Heartstrings Floral Bits And Pieces
- Heartstrings 12 x 12 Cardstock Stickers
- Heartstrings Glitter Enamel Dots
- Heartstrings Foam Stickers
- Heartstrings Self Adhesive Decorative Brad
- Color Vibe Collection – 12 x 12 Double Sided Paper – Mint
- Color Vibe Collection – 12 x 12 Double Sided Paper – Bubblegum
- Color Vibe Collection – 12 x 12 Double Sided Paper – Dandelion
*** Complete Product list – HERE ***
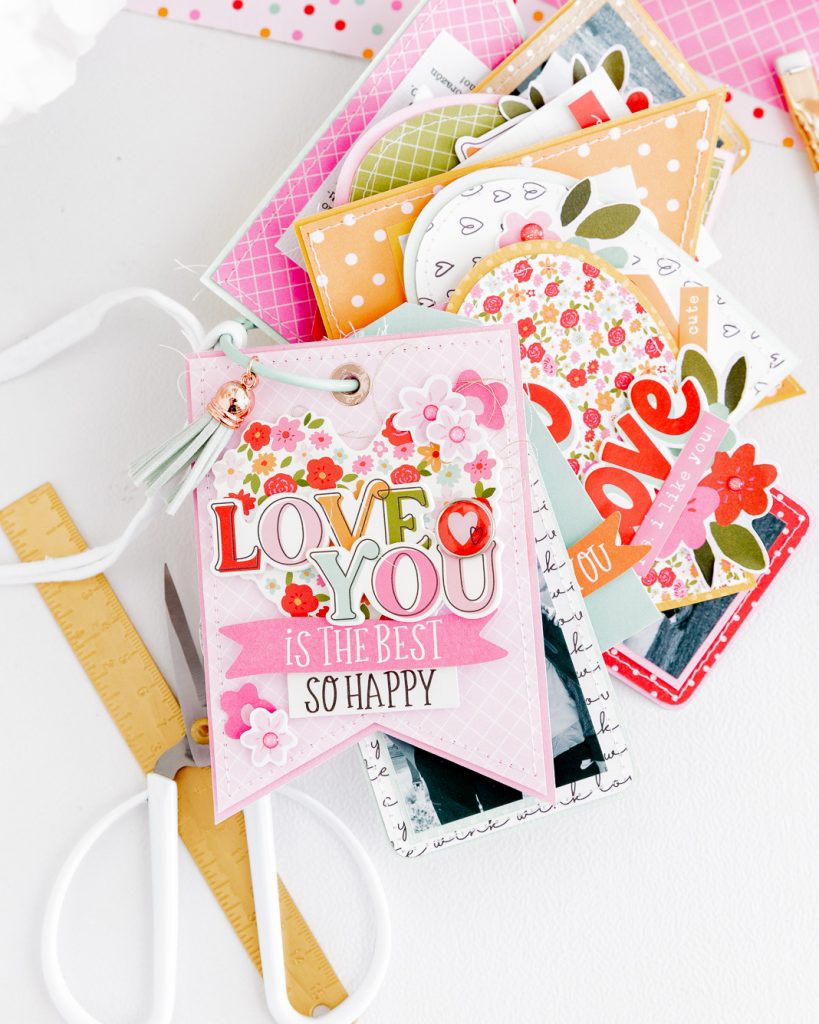
Mini Album Structure:
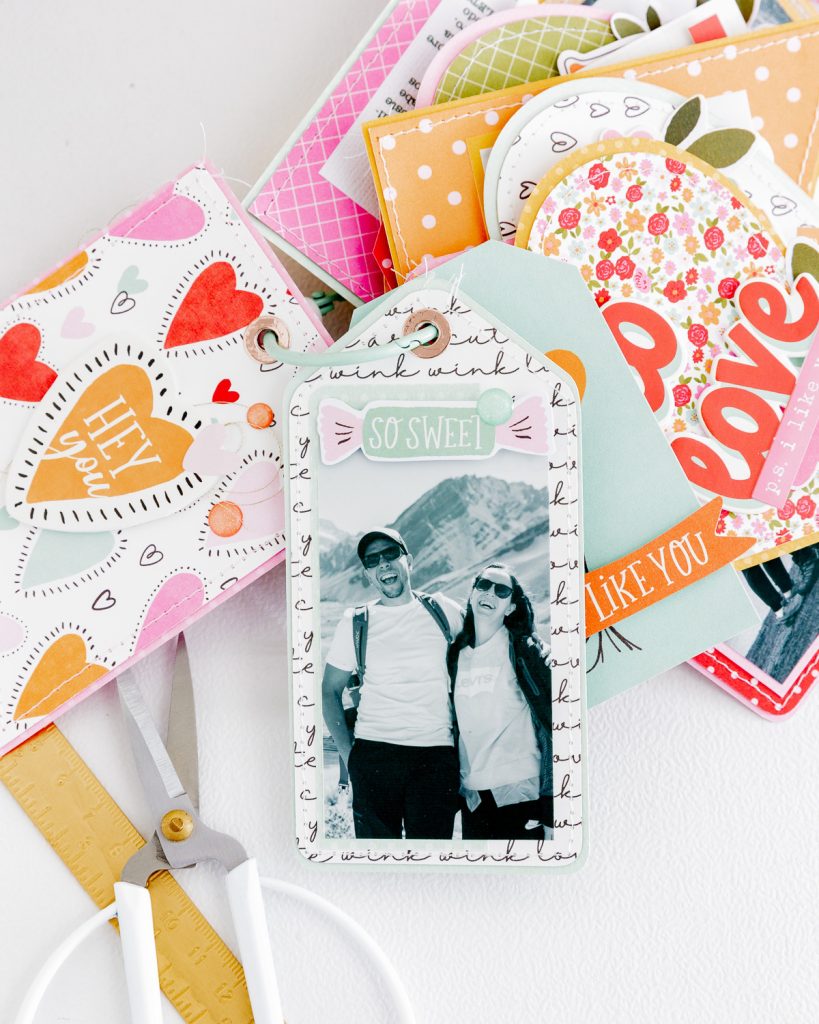
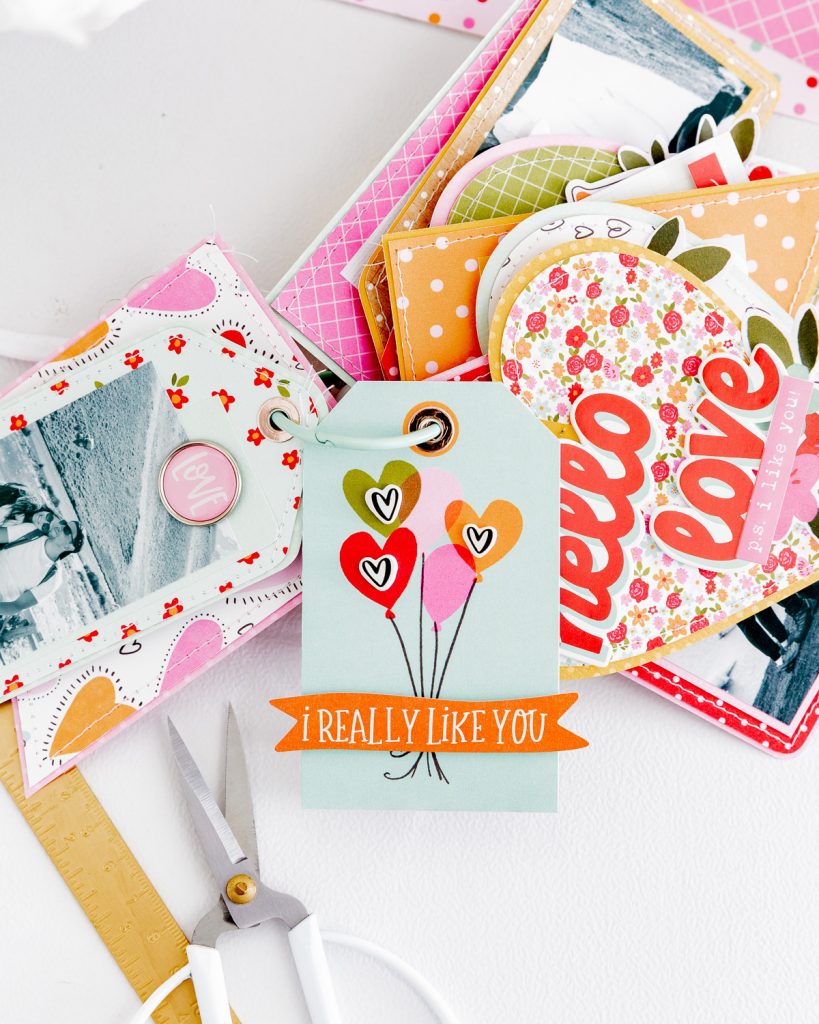
- The mini album is built on a base of three designs: tags, hearts, and banners. You can cut them using dies, cut files (with your electronic cutting machine), or by hand. You can also adjust the size to your preference. My pieces measure approximately: a- Tag: 2 1/2″ wide x 5″ tall, b- Heart: 4 1/8″ wide x 4 3/8″ tall and c- Banner: 3 1/4″ wide x 4 1/2″ tall.
- I cut all the pieces using three papers from the Color Vibe collection by Simple Stories: Color Vibe Collection – 12 x 12 Double Sided Paper – Mint, Color Vibe Collection – 12 x 12 Double Sided Paper – Bubblegum and Color Vibe Collection – 12 x 12 Double Sided Paper – Dandelion
- The patterned paper pieces that decorate the base pieces were cut slightly smaller. I used the Heartstrings 6 x 8 Paper Pad
- Before assembling the mini album, I added decorative stitching to the patterned paper pieces.
- You’ll need a 1 1/2″ diameter book ring for a total of 11 pieces (a mix of tags, hearts, banners, and tags from the collection).
Decorative details:
- Once all the patterned papers are glued down, it’s time to decorate! For the cover, I created a layered composition using 3D foam for some pieces and combining different elements. The gold thread adds such a beautiful touch, don’t you think?
- For the inside, I also used 3D foam and the Heartstrings Foam Stickers. Tip: Pay attention to where you place the raised pieces. It’s best to distribute them evenly throughout the album to avoid uneven layers, ensuring that your mini album stays balanced when finished. You’ll notice how much better it looks!
- You can add small details using gold foil paper.
- I used black and white photos and added my journaling on white cardstock (printed). Writing down memories is a lovely way to make our mini albums even more special.
- As an extra decorative touch, I added a tassel and a pretty ribbon.
- Tip: Use tweezers to handle the smallest die-cut pieces with precision.
Flip-Through Reel and YouTube Short
Watch the flip-through video in the IG Reel here!
Thank you so much for being here today. hope you liked the idea! See you!
Affiliate links apply at no extra cost to you. Thanks for your support!