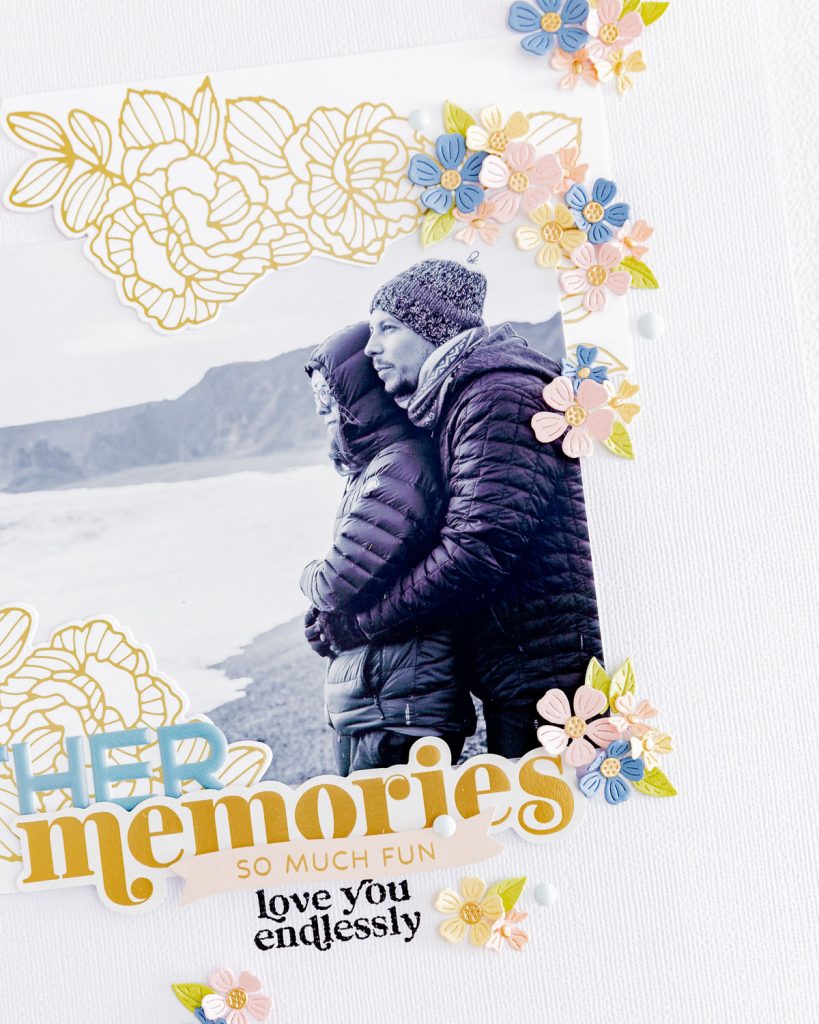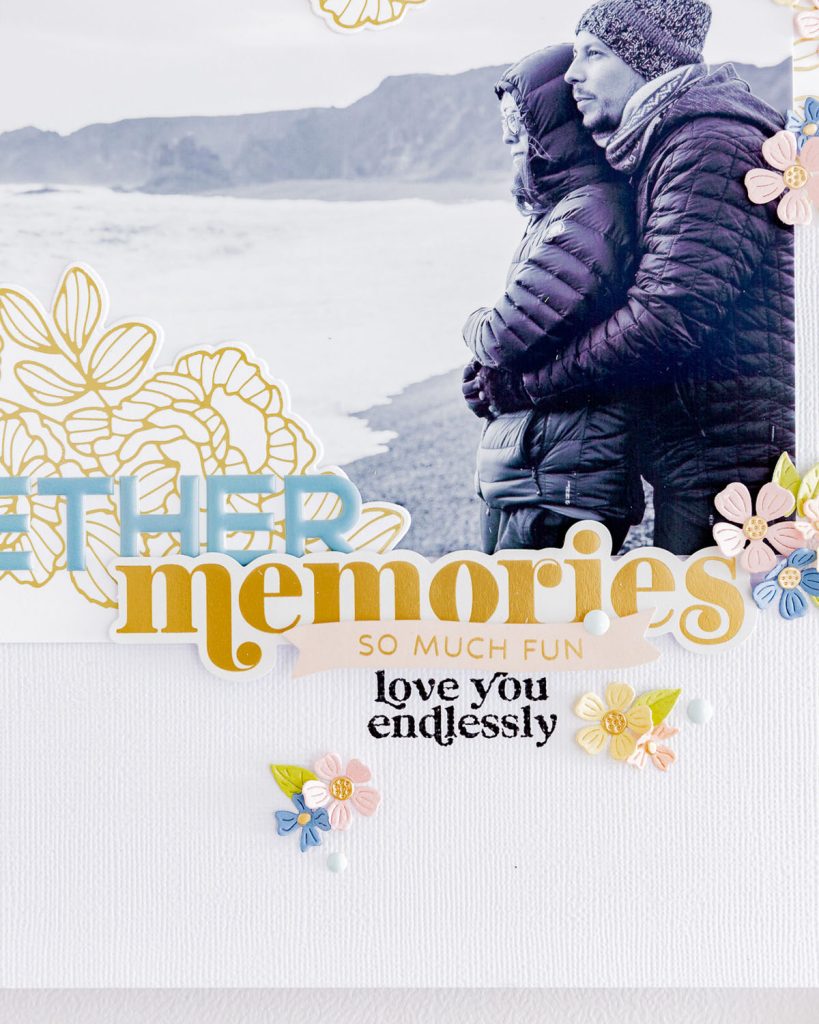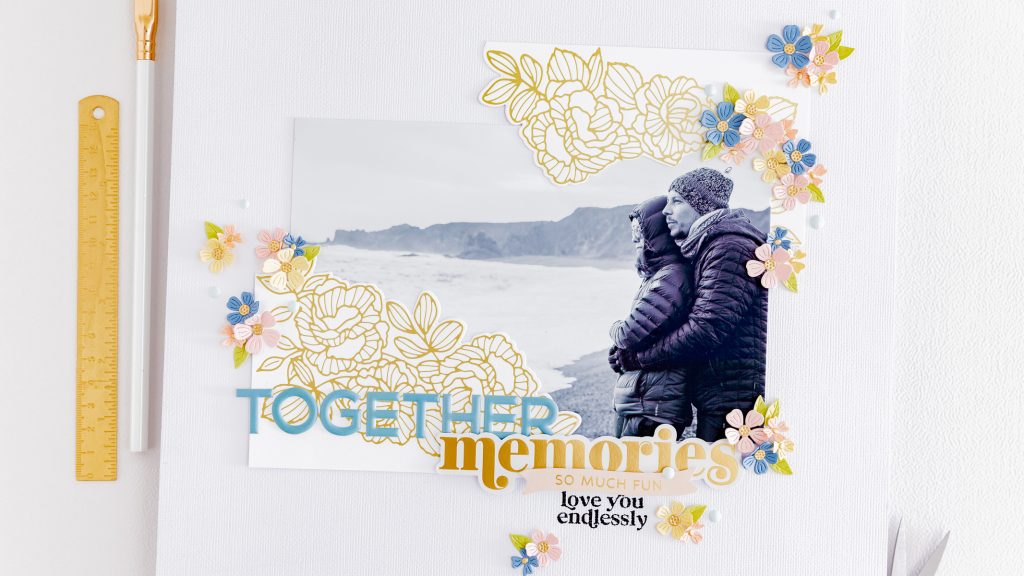
Hi friends! Happy Saturday! This month, I’m obsessed with making layouts! It’s something I absolutely love! And today, I have a new idea using the products from Spellbinders Clubs. How about we use materials designed for cardmaking and create a beautiful layout? Let’s get to work!
Learn More About Spellbinders Monthly Papercrafting Clubs!
¡Hola a todos! ¡Feliz Sábado! Este mes estoy obsesionada con hacer layouts! Es algo que me encanta! Y hoy les tengo una nueva propuesta usando los productos de los Clubs del mes de Spellbinders. ¿Qué les parece si usamos materiales pensados para tarjetería y creamos un precioso layout? ¡Manos a la obra!
Conoce más acerca de los Clubs Mensuales de Spellbinders!
*** Únete al Club / Join to the Club – AQUI/HERE ***
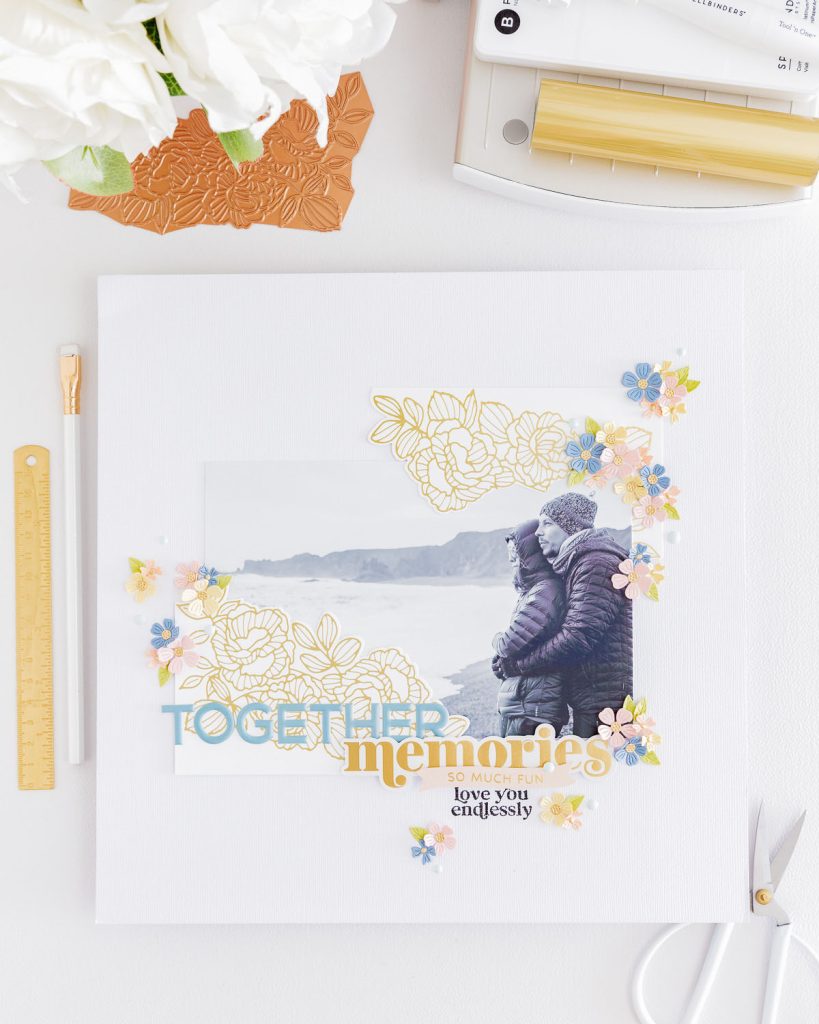
Para el Layout de hoy utilicé / For today’s layout, I used:
- Small Die of the Month Membership
- GLIMMER HOT FOIL KIT OF THE MONTH CLUB
- CLEAR STAMP & DIE OF THE MONTH CLUB
- Glimmer Hot Foil System Platinum
- WOODLAND TALES DIE CUT SENTIMENT
- MINI BLOOMS AND SPRIGS ETCHED DIES
- Platinum SIX Machine
*** Lista de completa de productos / Complete Product list – AQUI/HERE ***
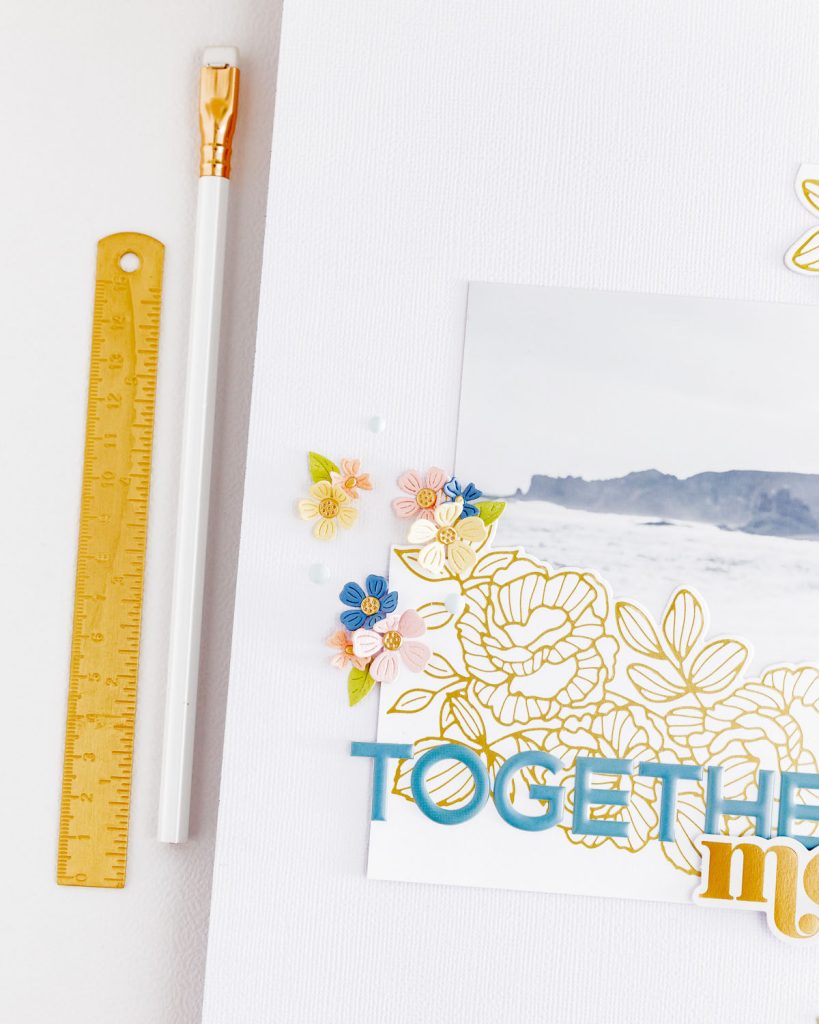
Base del Layout / Layout Base:
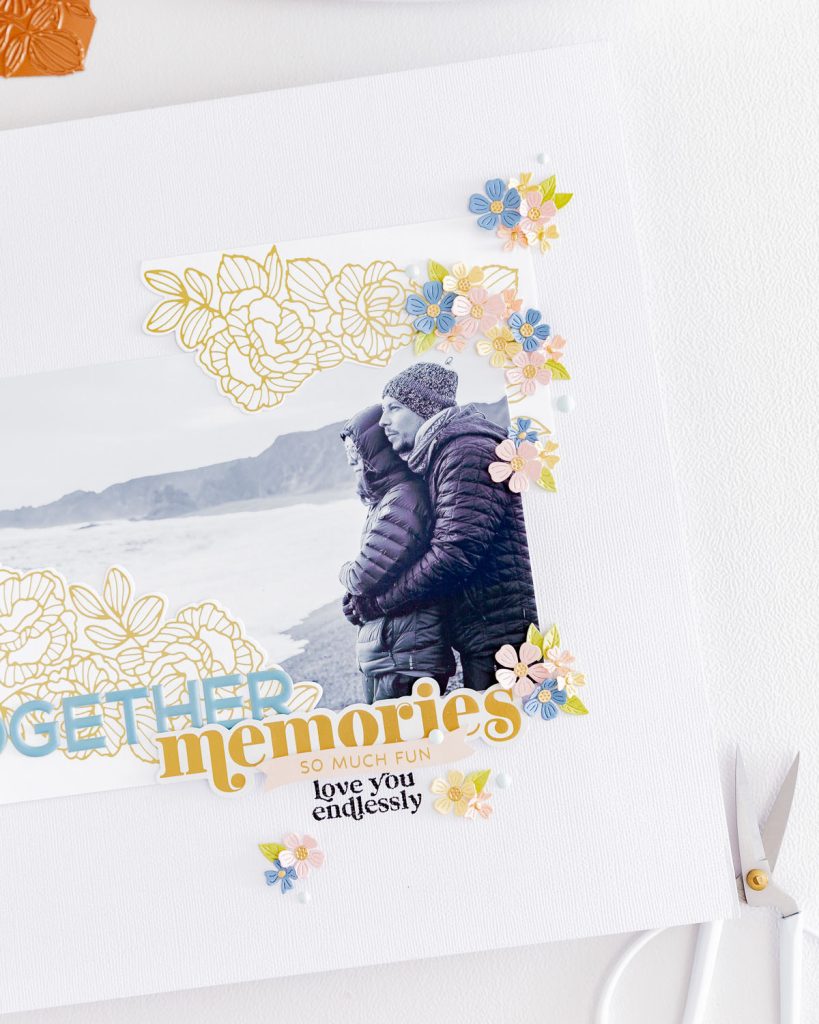
- Use a 12×12 white cardstock sheet for the base.
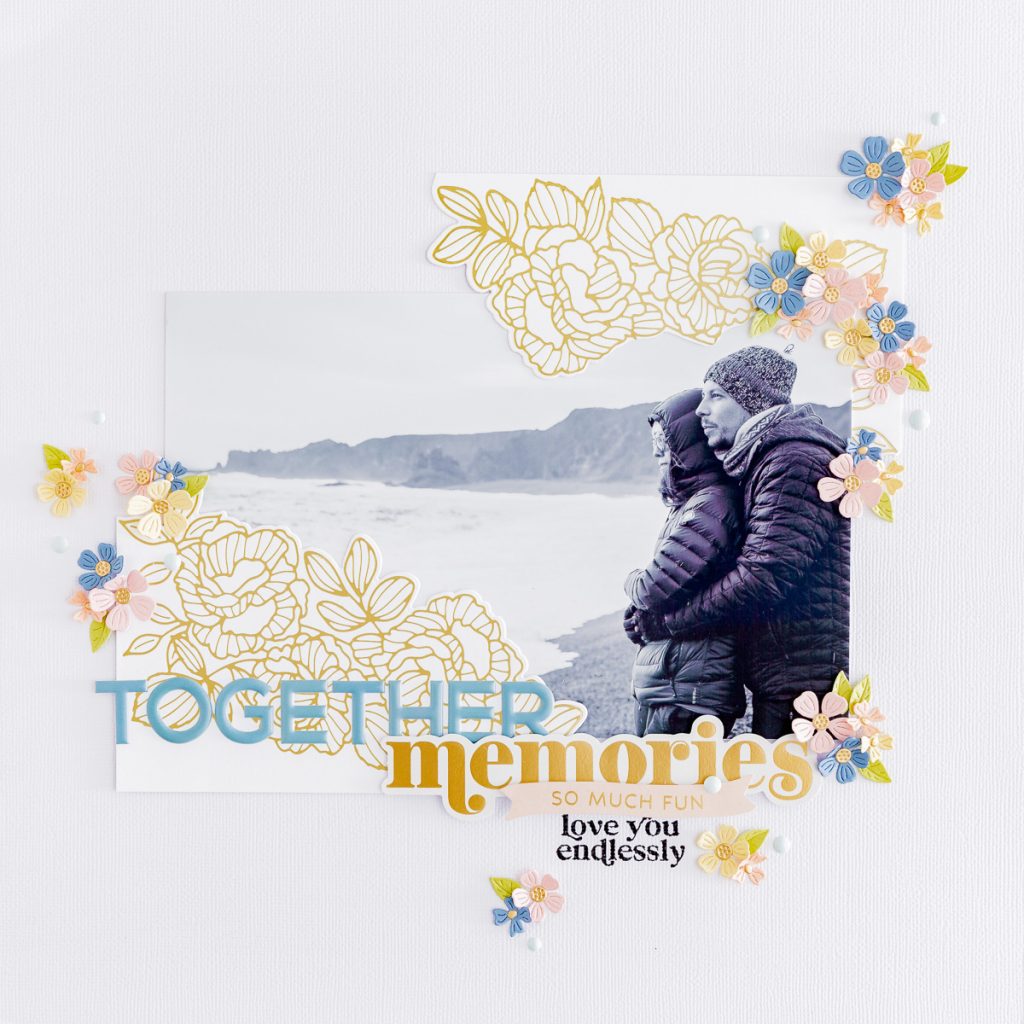
- Prepare two floral pieces using the hot foil plate from the set GLIMMER HOT FOIL KIT OF THE MONTH CLUB. Once the pieces are ready, die-cut the edges with the die from the same set and your Platinum SIX Machine. These pieces will be used as corners for our photo.
- Prepare a 7 3/4″ w x 5 1/2″ h photo (horizontal).
- Make a cut in the corner piece that will be used in the upper right corner of the photo.
- Attach the corner pieces to the photo, then adhere the resulting piece to the base paper of the layout.
- Usa una hoja de cardstock blanco 12×12 para la base
- Prepara dos piezas florales utilizando el plate para hot foil del set GLIMMER HOT FOIL KIT OF THE MONTH CLUB. Una vez que las piezas estén listas, troquela los bordes con el troquel del mismo set y tu máquina Platinum SIX Machine.Estas piezas se usarán como esquineros para nuestra fotografía.
- Prepara una foto horizontal de 7 3/4″ de ancho x 5 1/2″ de alto.
- Haz un corte en el esquinero que se usará en la esquina superior derecha de la fotografía.
- Adhiere los esquineros a la fotografía y luego pega la pieza resultante al papel base del layout.
Detalles decorativos / Decorative details:
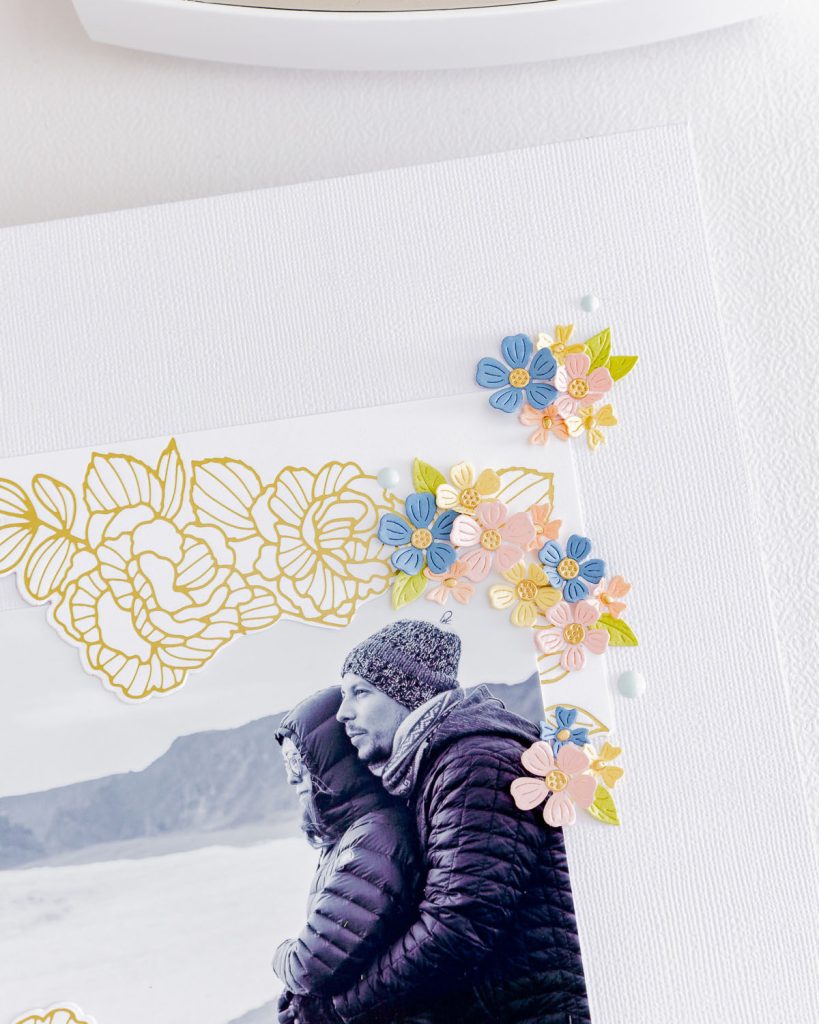
- Use some pieces from the WOODLAND TALES DIE CUT SENTIMENTS set.
- Die-cut flowers and decorative details using the sets Small Die of the Month Membership and MINI BLOOMS AND SPRIGS ETCHED DIES and your Platinum SIX Machine.
- Create different clusters of flowers and other decorative elements.
- Add a stamped phrase using the set CLEAR STAMP & DIE OF THE MONTH CLUB. Since I used a textured paper as the base for my layout, the stamp will have a slightly distressed finish (something I love for this composition).
- Usa unas piezas del set WOODLAND TALES DIE CUT SENTIMENTS
- Troquela flores y detalles decorativos usando los sets Small Die of the Month Membership y MINI BLOOMS AND SPRIGS ETCHED DIES y tu Platinum SIX Machine.
- Arma distintos puntos de composiciones de flores y demás elementos decorativos.
- Añade una frase estampada utilizando el set CLEAR STAMP & DIE OF THE MONTH CLUB. Como utilicé un papel texturizado como base para mi layout, el sello tendrá un acabado ligeramente desgastado (algo que me encanta para esta composición).
Tip: Adhere some of the elements with foam adhesive for dimension. I always do it because I love how the different layers look.
Tip: pega algunos de los elementos en relieve. Siempre lo hago porque adoro como se ven las distintas capas.
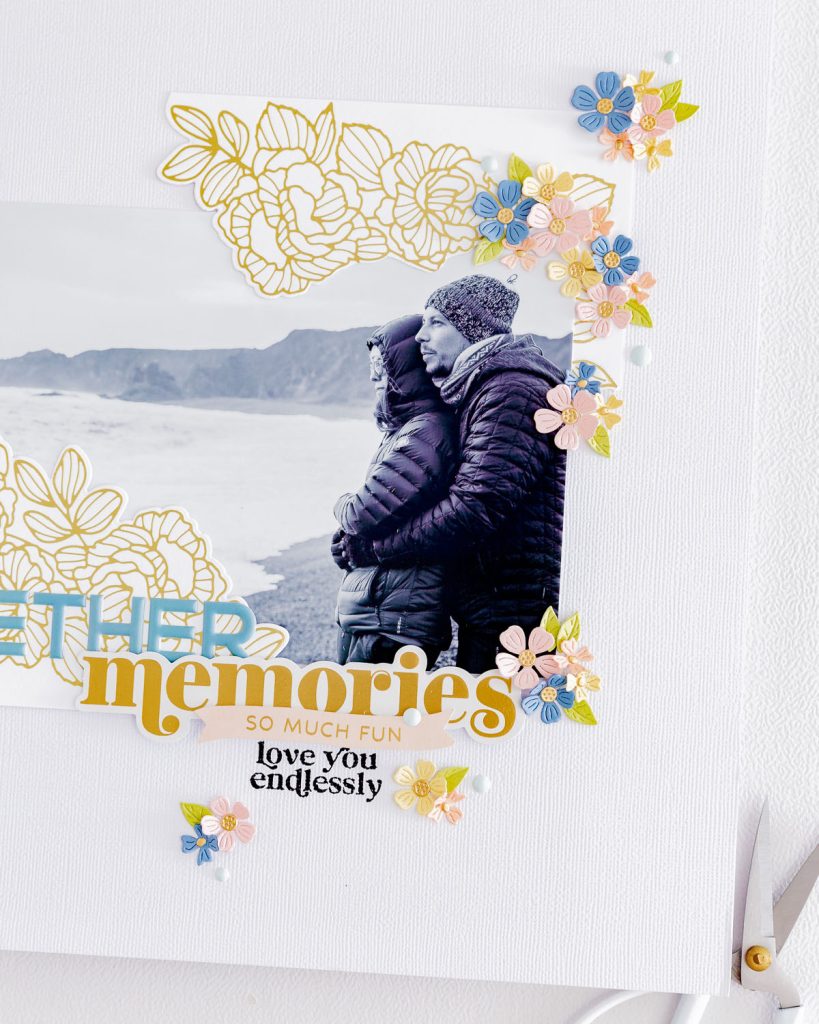
Step-by-step Reel and YouTube Short / Reel Paso a paso yYouTube Short
Mira el proceso del layout en el Reel de IG aquí /
Watch the layout process in the IG Reel here
Thank you for joining me. See you!
Muchas gracias por acompañarme. ¡Nos vemos!
Affiliate links apply at no extra cost to you. Thanks for your support!
Los enlaces de afiliados se aplican sin costo adicional para ti. ¡Gracias por tu apoyo!