Hello everyone! Welcome back! Let’s create beautiful things with die-cutting! Today, I’m excited to share a new idea with you using products from the Spellbinders Clubs. Yes, those amazing Clubs where we get to enjoy new and unique products every month. They’re pure magic!🌟
Learn More About Spellbinders Monthly Papercrafting Clubs!
¡Hola a todos! ¡Vamos a crear cosas hermosas con troqueles! Hoy estoy emocionada de compartir una nueva idea con ustedes utilizando los productos de los Clubs de Spellbinders. Sí, esos increíbles Clubs donde cada mes disfrutamos de productos nuevos y únicos. ¡Son pura magia!🌟
Conoce más acerca de los Clubs Mensuales de Spellbinders!
*** Únete al Club / Join to the Club – AQUI/HERE ***
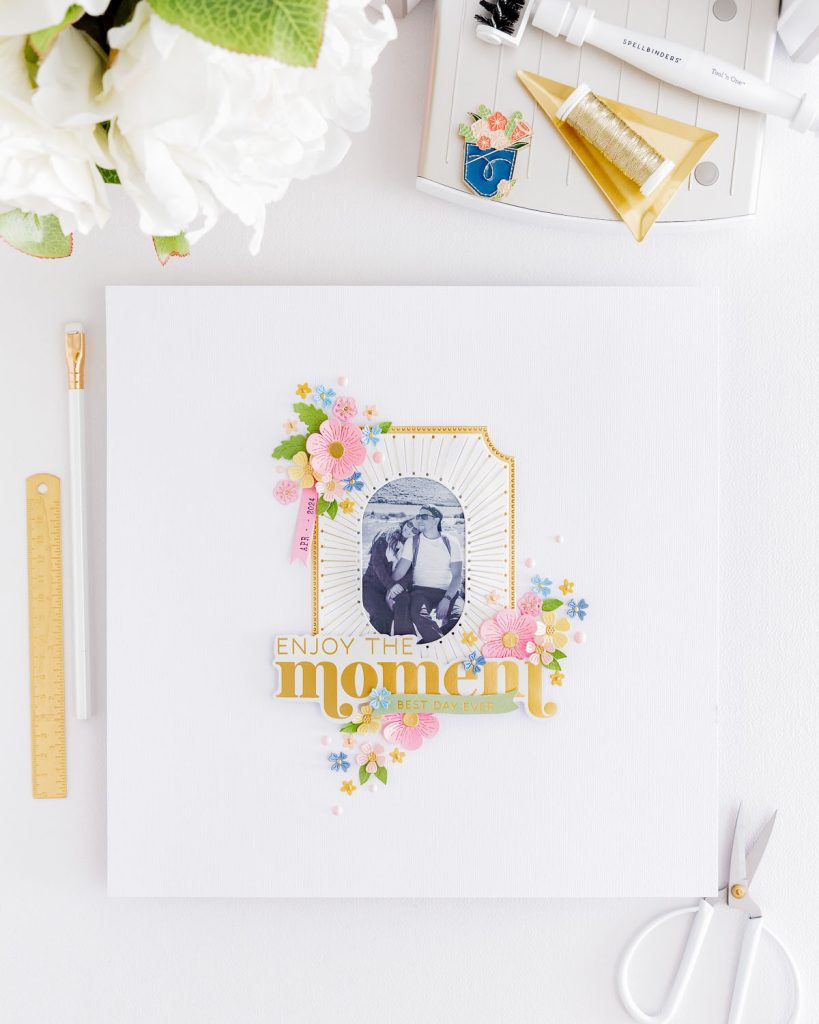
Para el Layout de hoy utilicé / For today’s layout, I used:
- Small Die of the Month Membership
- STITCHING DIE OF THE MONTH MEMBERSHIP
- WOODLAND TALES DIE CUT SENTIMENTS
- ESSENTIAL TAGS ETCHED DIES
- MINI BLOOMS AND SPRIGS ETCHED DIES
- Platinum SIX Machine
*** Lista de completa de productos / Complete Product list – AQUI/HERE ***
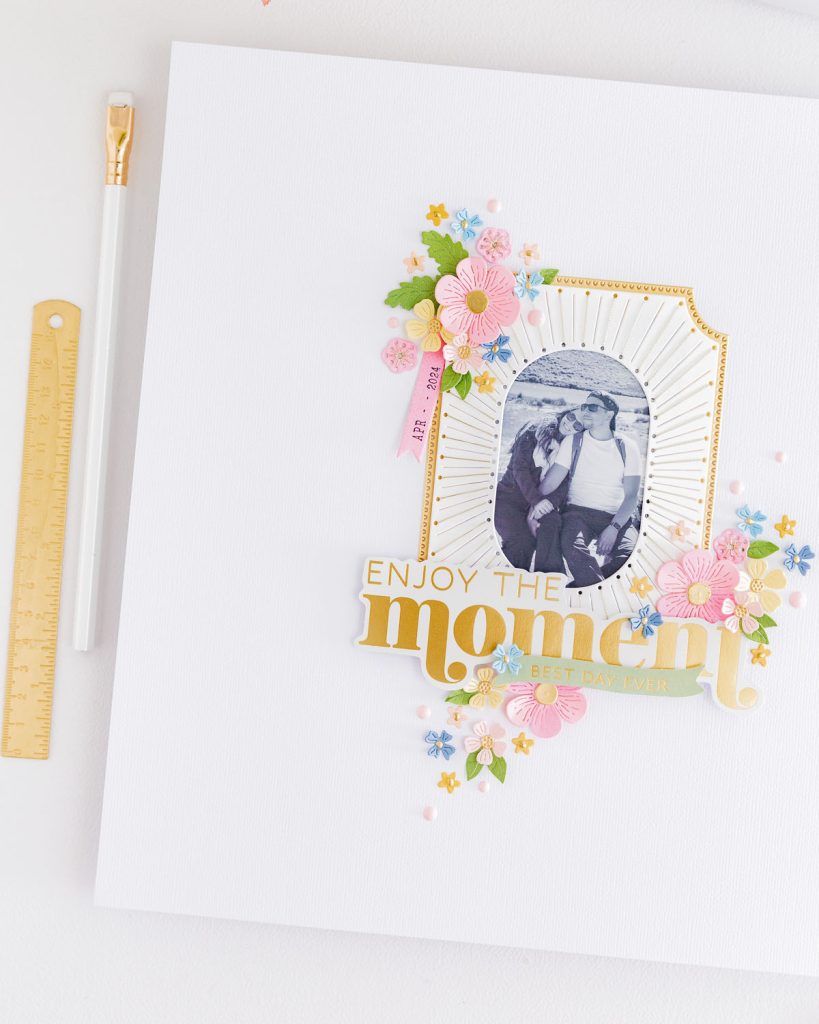
Base del Layout / Layout Base:
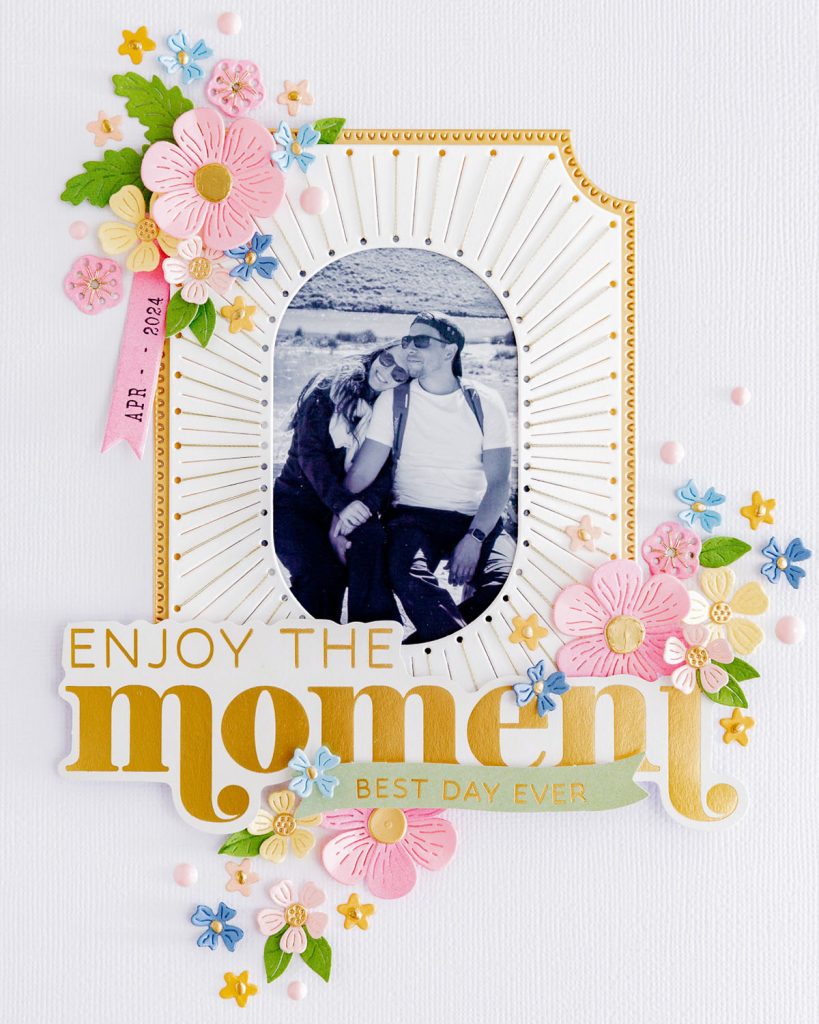
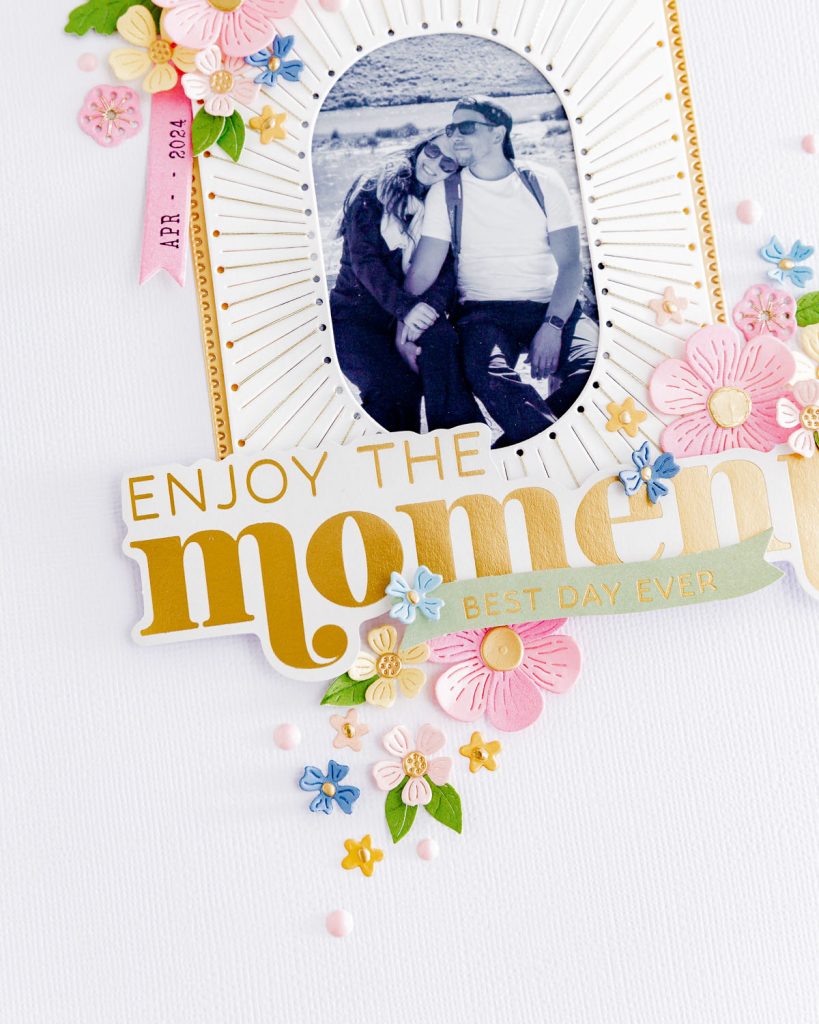
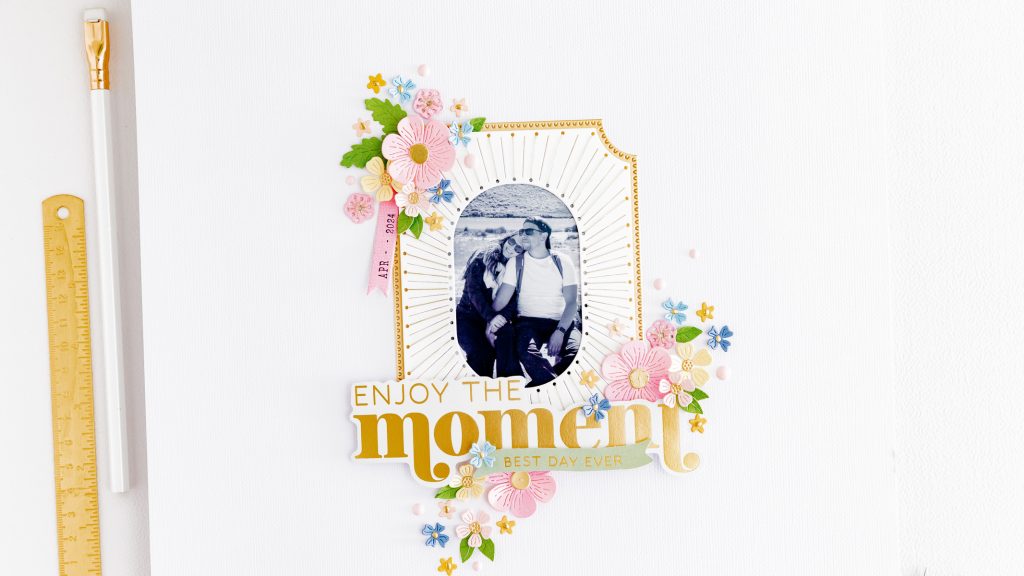
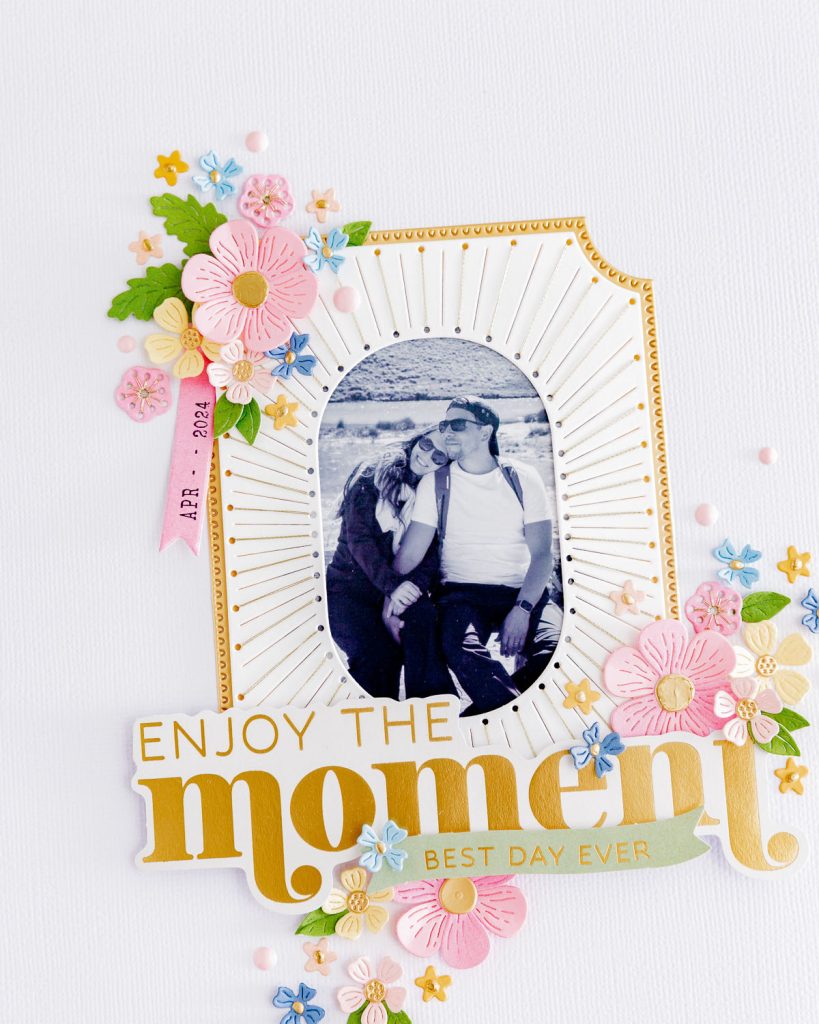
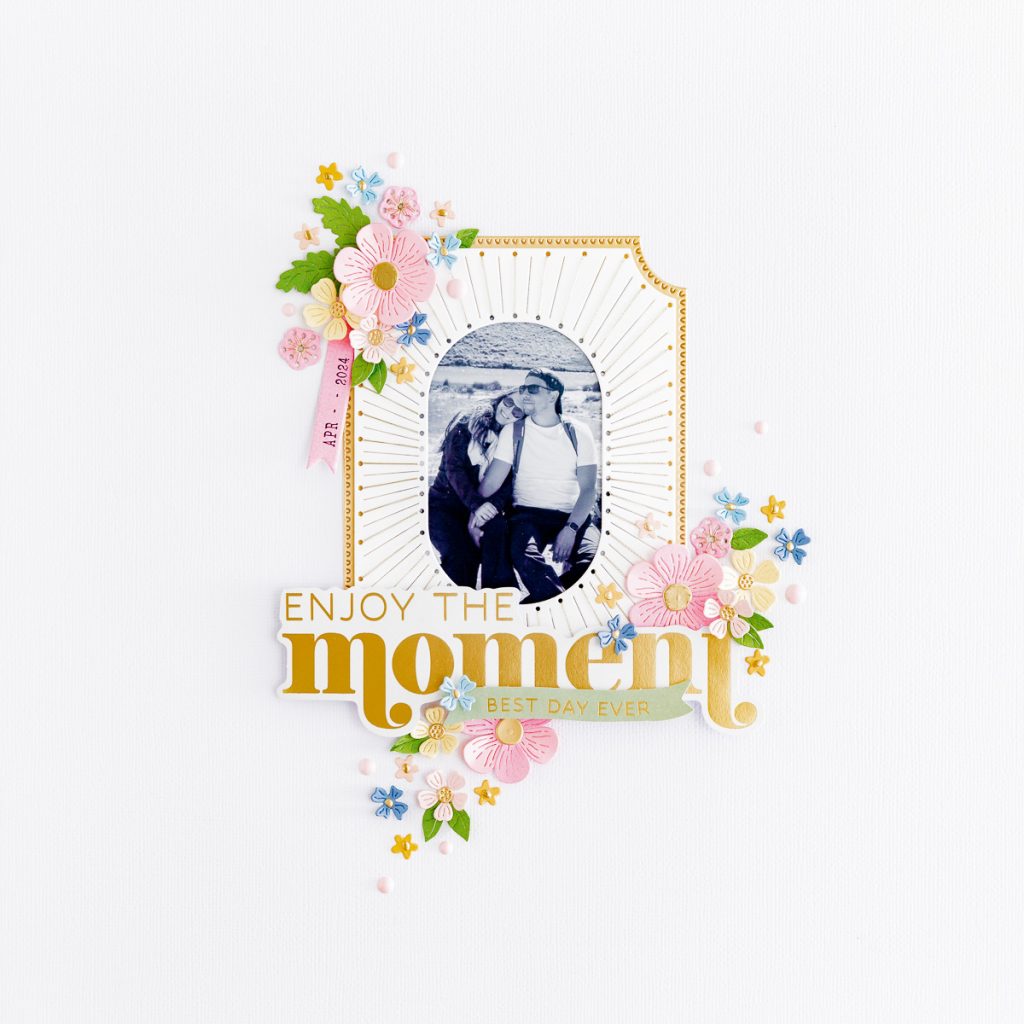
- Use a 12×12 white cardstock sheet for the base.
- Die-cut the pieces from the STITCHING DIE OF THE MONTH MEMBERSHIP and Small Die of the Month Membership sets and your Platinum SIX Machine in colored and matte gold cardstock .
- Prepare a 3″ w x 4 1/2″ h photo (vertical).
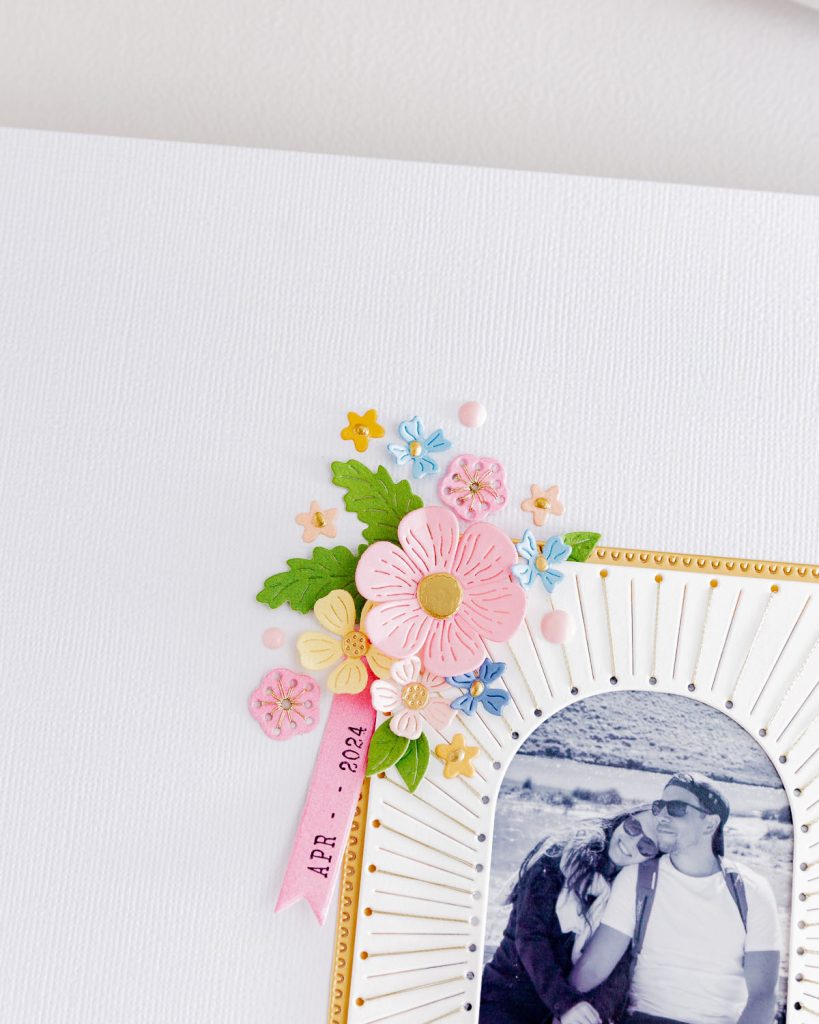
- Embroider the frame for the photo and the mini flowers with gold thread.
- Adhere the photo behind the frame.
- Glue the gold frame centered horizontally on the base paper and relatively centered vertically.
- Use 3D foam to attach the embroidered frame on top of the gold frame.
- Usa una hoja de cardstock blanco 12×12 para la base
- Troquela las piezas de los sets STITCHING DIE OF THE MONTH MEMBERSHIP y Small Die of the Month Membership y tu Platinum SIX Machine en cardstock de colores y dorado mate.
- Prepara una foto vertical de 3″ ancho x 4 1/2″ de alto.
- Borda el marco para la foto y las mini flores con hilo dorado.
- Pega la foto por detrás del marco.
- Pega el marco dorado centrado al ancho de papel base y relativamente centrado al alto del papel base.
- Pega con foam 3D el marco bordado sobre el marco dorado.
Detalles decorativos / Decorative details:
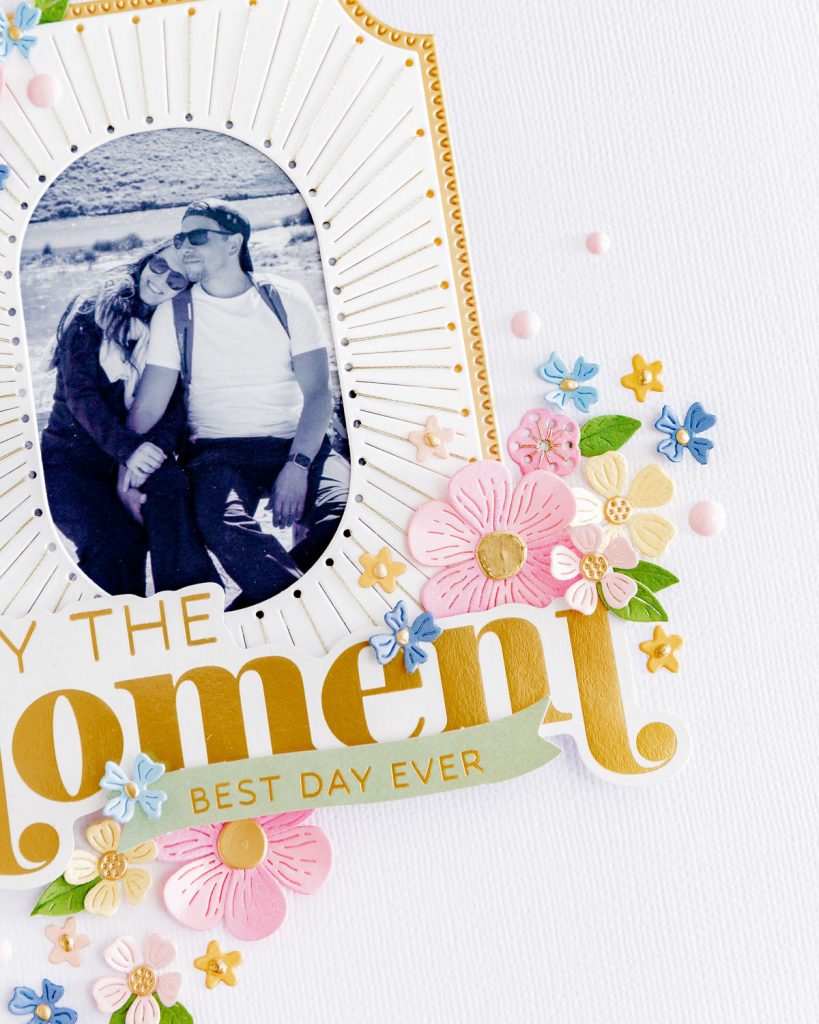
- Use some pieces from the WOODLAND TALES DIE CUT SENTIMENTS set.
- Die-cut flowers and decorative details using the sets ESSENTIAL TAGS ETCHED DIES and MINI BLOOMS AND SPRIGS ETCHED DIES.
- Create different clusters of flowers and other decorative elements.
- Add the date with a mini tag and a date stamp.
- Usa unas piezas del set WOODLAND TALES DIE CUT SENTIMENTS
- Troquela flores y detalles decorativos usando los sets ESSENTIAL TAGS ETCHED DIES and MINI BLOOMS AND SPRIGS ETCHED DIES.
- Arma distintos puntos de composiciones de flores y demás elementos decorativos.
- Añade la fecha con un mini tag y sello fechador.
Tip: Adhere some of the elements with foam adhesive for dimension.
Tip: pega algunos de los elementos en relieve.
Step-by-step Reel and YouTube Short/ Reel Paso a paso y YouTube Short
Mira el proceso del layout en el Reel de IG aquí /
Watch the layout process in the IG Reel here
Thank you for joining me. See you!
Muchas gracias por acompañarme. ¡Nos vemos!
Affiliate links apply at no extra cost to you. Thanks for your support!
Los enlaces de afiliados se aplican sin costo adicional para ti. ¡Gracias por tu apoyo!