¡Bienvenidos a un nuevo proyecto de inspiración para Scrap & Learn! Nuestra comunidad creativa junto a ustedes y con Andrea Lake y Gloria Parra. Hoy les enseño a preparar un mini álbum a partir de una forma de madera / MDF. Es una idea original y divertida que nos permitrá hacer un mini álbum con cualquier forma que tengamos ¡comenzamos!
Welcome to a new inspiration project for Scrap & Learn! Our creative community together with you and with Andrea Lake and Gloria Parra. Today I will show you how to prepare a mini album using a wooden / MDF shape. It’s an original and fun idea that will allow us to make a mini album with any shape we have. Let’s get started!
*** Lista de completa de productos / Complete Product list – AQUI/HERE ***
Base de madera o MDF / Wooden or MDF Base:
La base de madera será nuestro patrón. Tenemos dos formas de hacerlo: 1- delineando el borde y cortando a mano (todas las piezas que necesitamos), 2- creando un archivo de corte para utilizar con nuestro plótter de corte (cortaremos todas las piezas con esta herramienta eléctrica).
The wooden base will be our template. There are two ways to do it: 1- tracing the edge and cutting by hand (all the pieces we need), 2- creating a cutting file to use with our cutting plotter (we will cut all the pieces with this electric tool).

Hay una detalle importante respecto de la última opción que encontrarán detallado en el video tutorial.
There is an important detail about the last option that you will find detailed in the video tutorial.
Forramos la base de madera, repasamos los bordes con una lima de uñas para quitar cualquier resto de papel y forramos todo el borde con papel foil dorado.
We cover the wooden base, go over the edges with a nail file to remove any paper residue, and line the entire edge with gold foil paper.
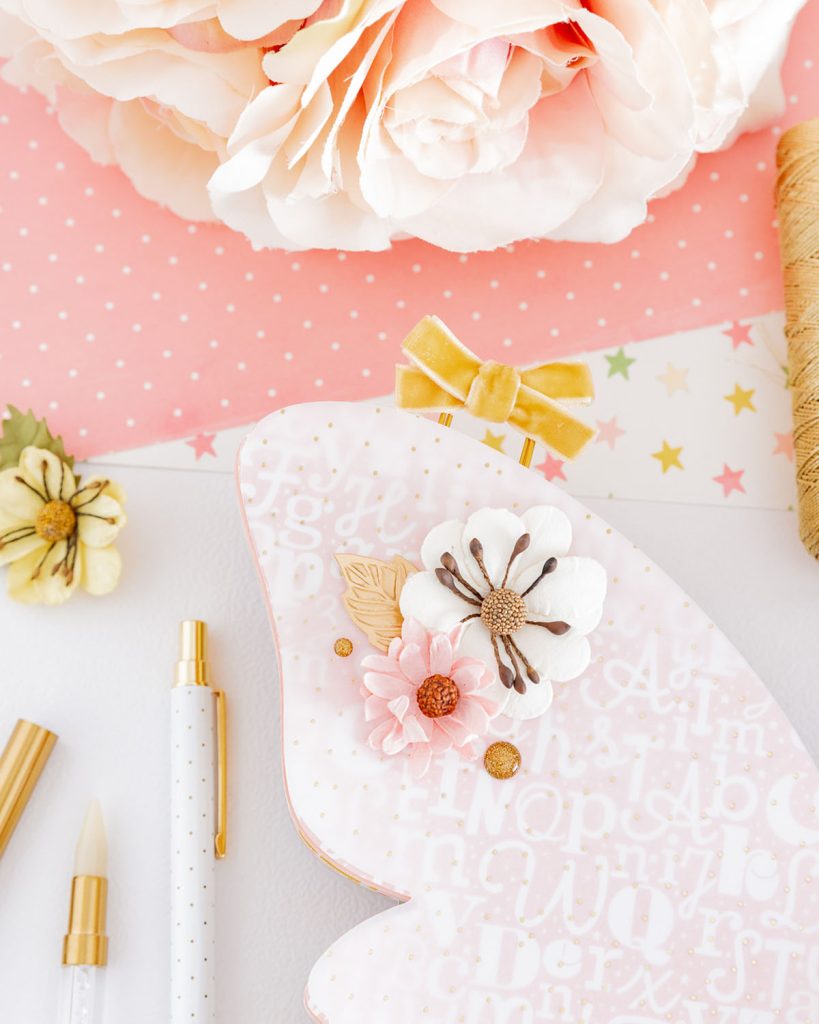
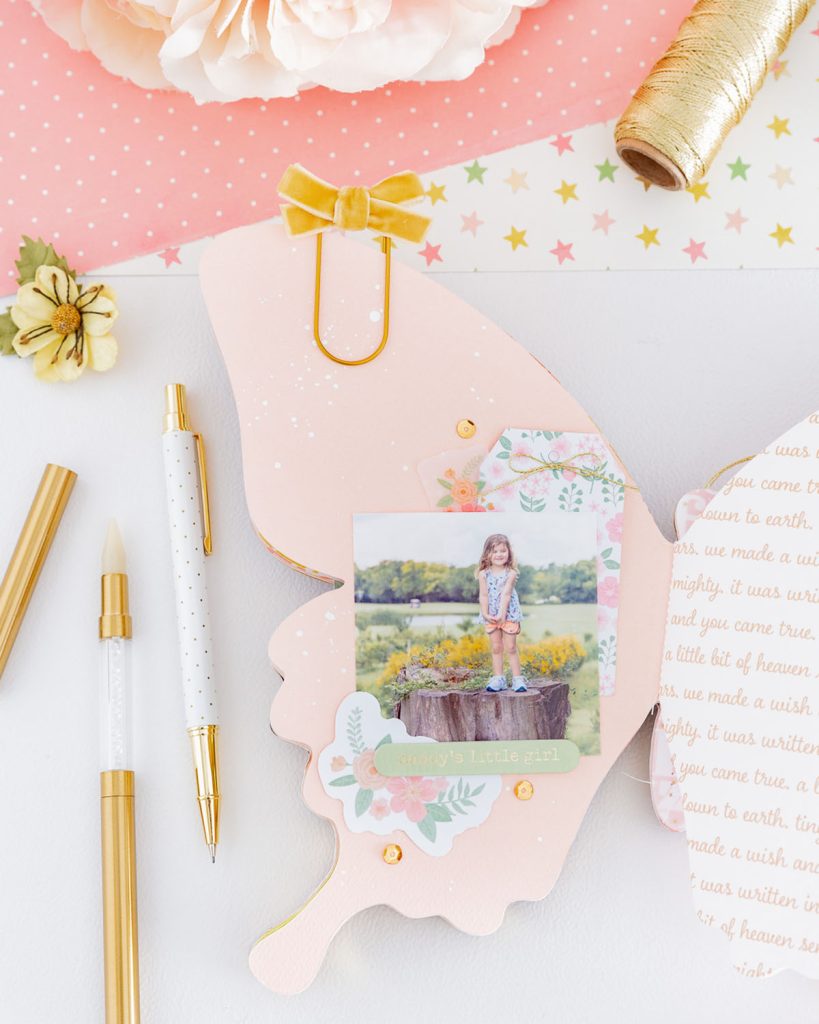
Portada / Cover:
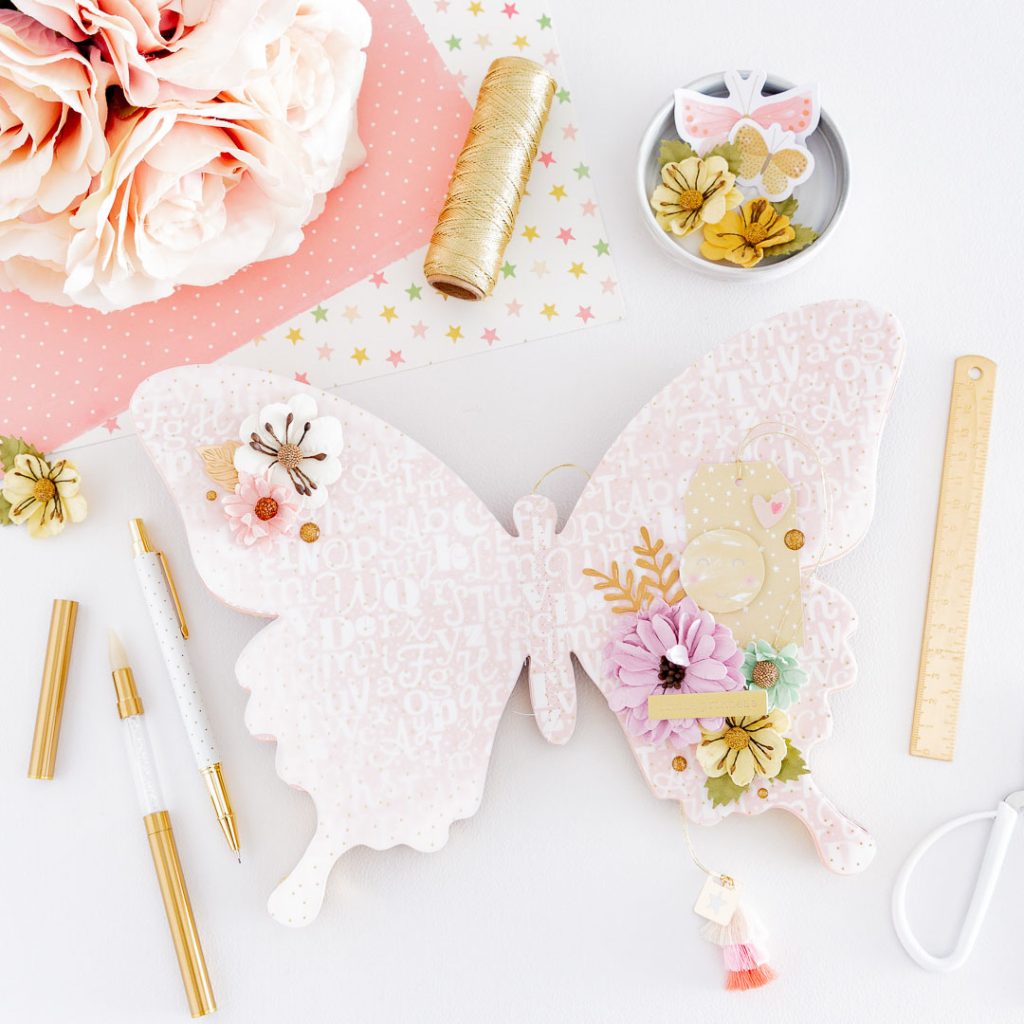
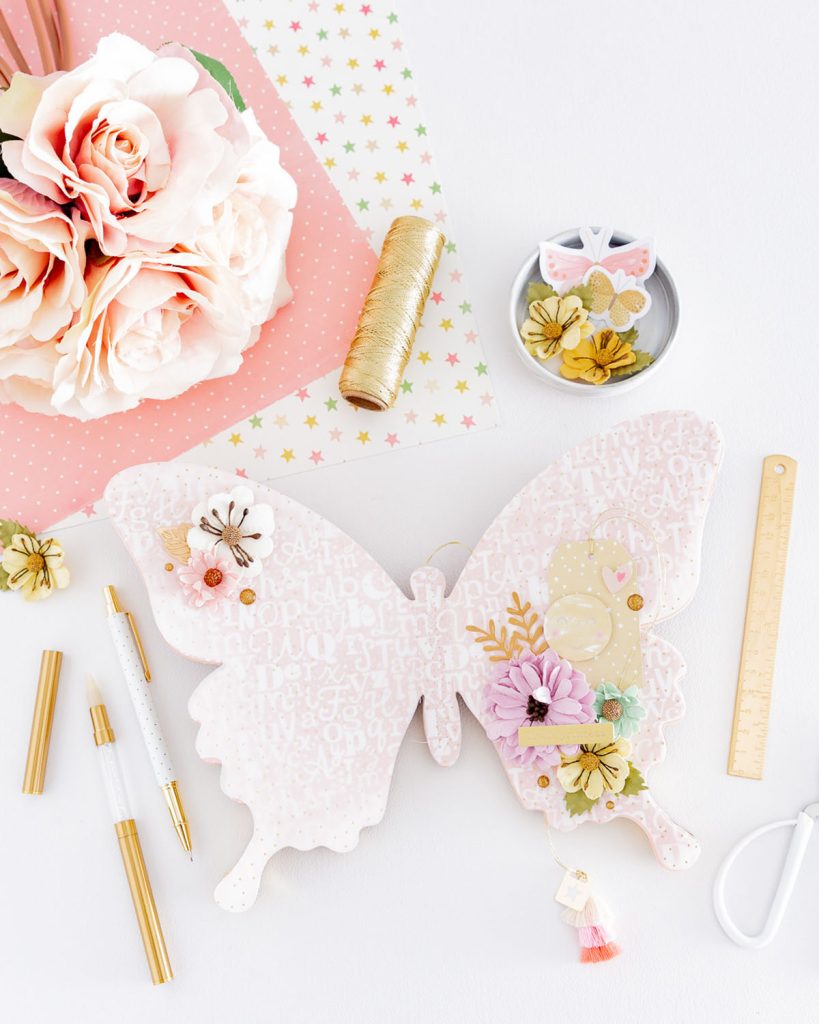
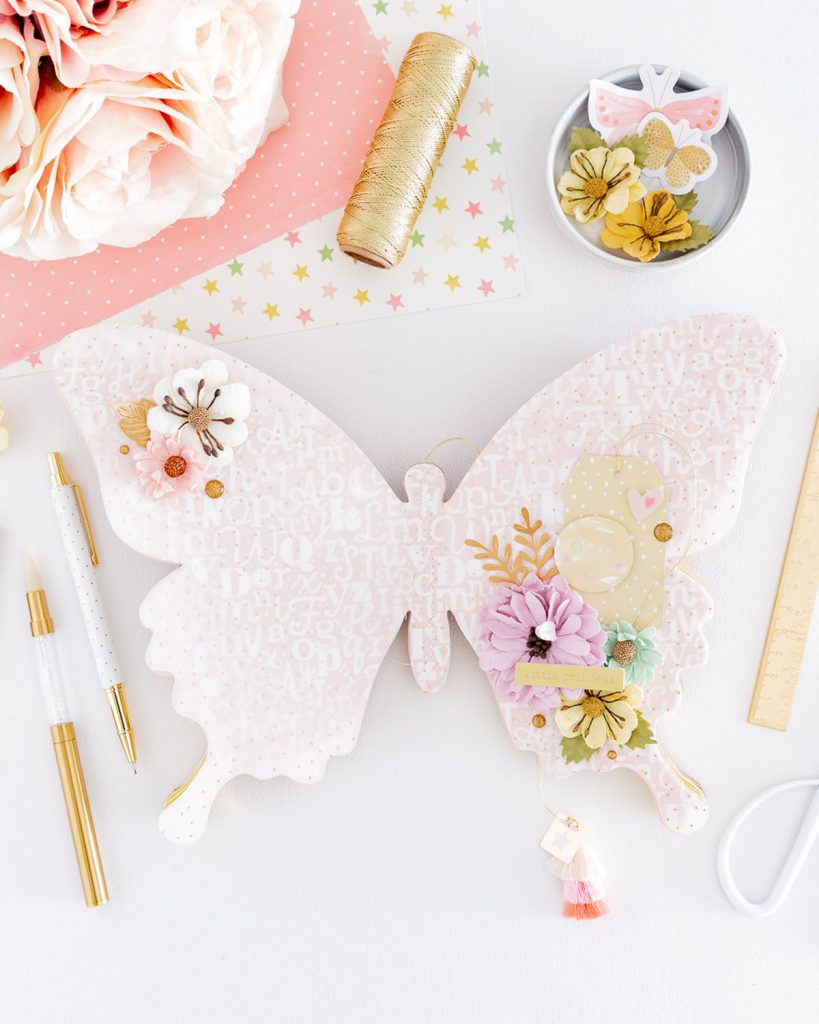
La portada está formada por una pieza de vellum y una de papel de diseño. La pegaremos a la estructura del mini álbum como último paso. Para decorarla he usado elementos de la colección y flores de papel. Todo pegado en capas y distribuyendo la decoración en ambas alas de la mariposa.
The cover is made up of a piece of vellum and a piece of design paper. We will attach it to the mini album structure as the final step. To decorate it, I used elements from the collection and paper flowers. Everything is glued in layers, distributing the decoration across both wings of the butterfly.
Antes de comenzar a decorarla, debemos unir ambas piezas con costura por el centro (cuerpo de la mariposa). No debemos usar adhesivo líquido o cinta de doble cara. Hacemos una costura central en zig zag y una costura recta a ambos inicios de las alas. Una vez cosidas, ya podemos comenzar a pegar todos nuestros elementos decorativos. Al terminar de decorar, colocamos adhesivos por la parte de atrás del vellum (sólo en las zonas donde hay embellishments y dejando libres los bordes de las alas).
Before starting the decoration, we need to join both pieces by sewing them together at the center (the body of the butterfly) with a sewing machine. We should not use liquid adhesive or double-sided tape. We sew a central zigzag stitch and a straight stitch at the beginning of each wing. Once sewn, we can start attaching all our decorative elements. After finishing the decoration, we place adhesive on the back of the vellum (only in the areas where there are embellishments, leaving the edges of the wings free).
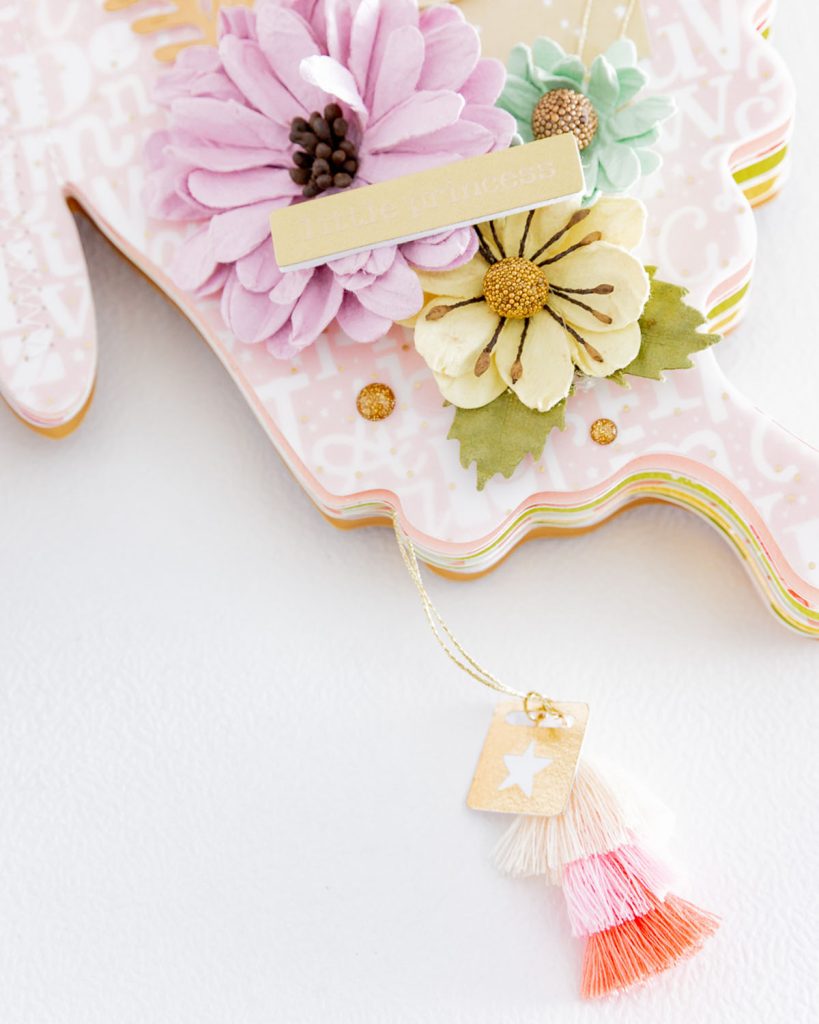
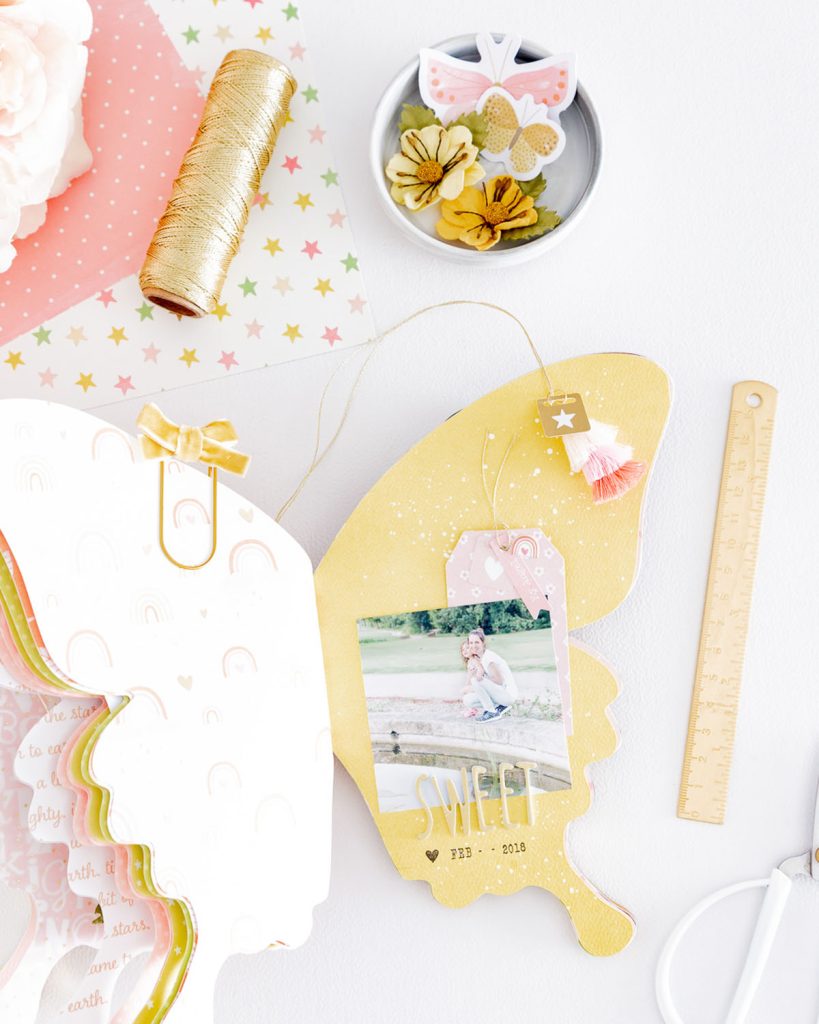
Señalador o Separador / Bookmark or Divider:
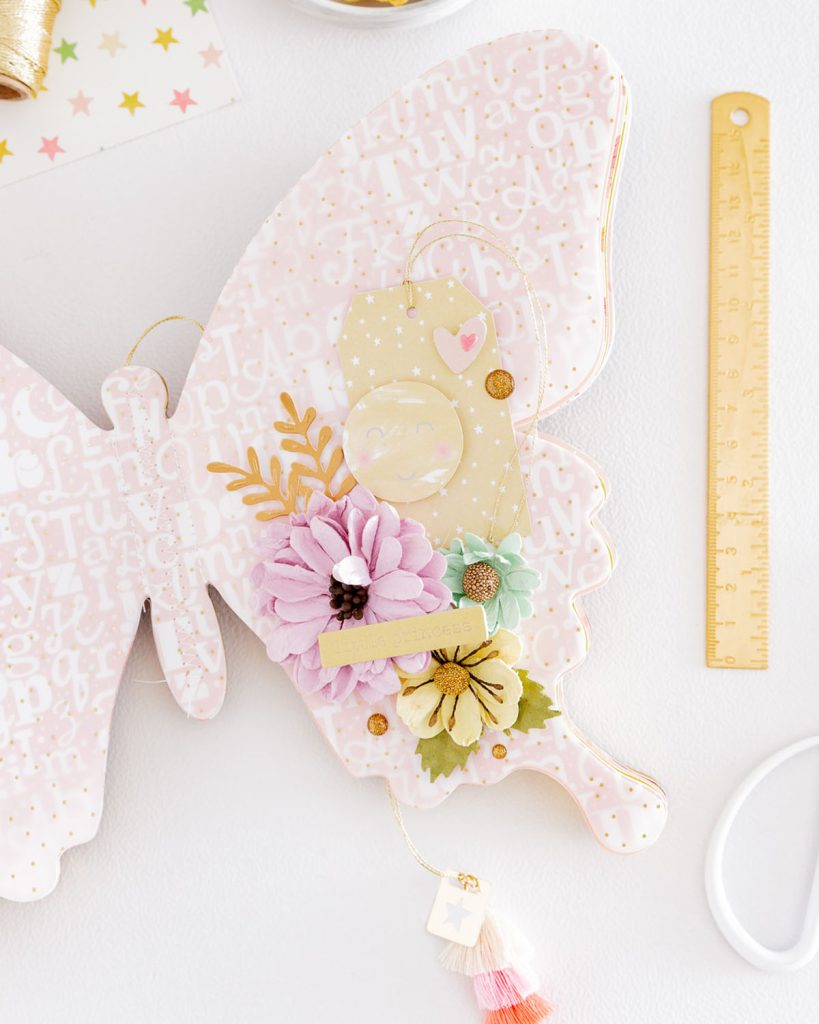
He preparado una especie de señalador o separador con hilo dorado, una pieza del pack de die cuts y un tassel. Debemos pegarlo por la parte de atrás de la estructura interna y luego pegar todo en la base del mini álbum.
I have prepared a kind of bookmark or divider with gold thread, a piece from the die-cut pack, and a tassel. We need to attach it to the back of the internal structure and then adhere everything to the base of the mini album.
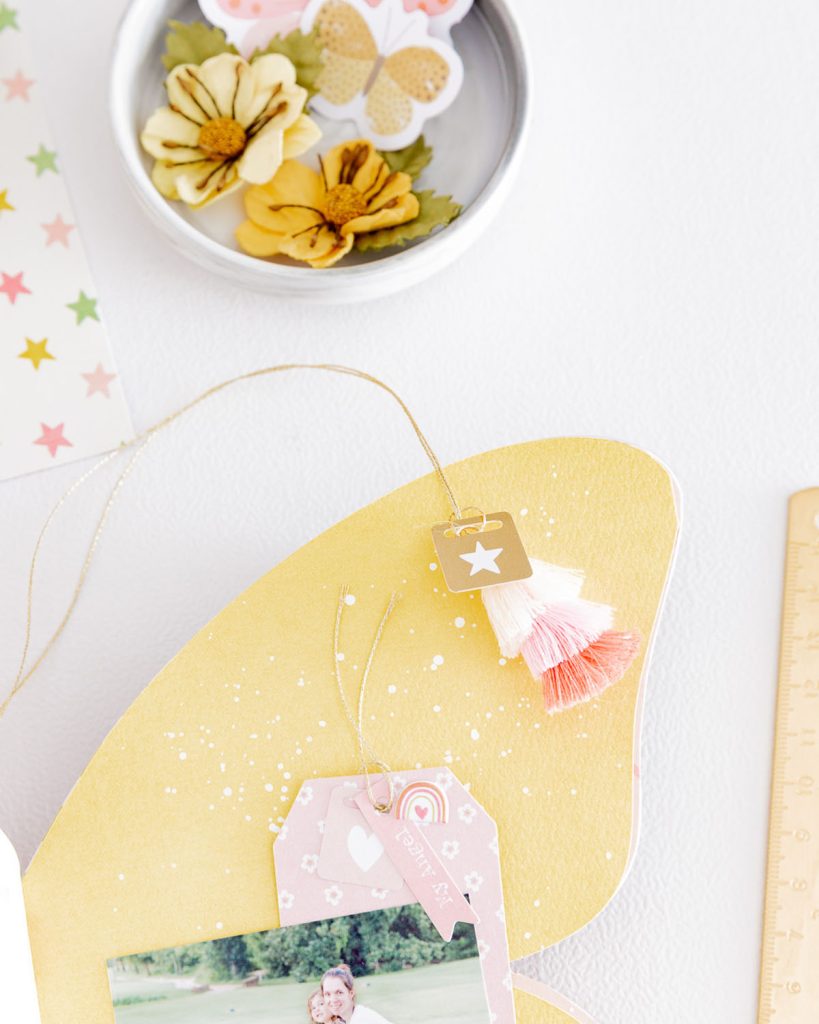
Interior del Mini Álbum / Mini Album Interior:
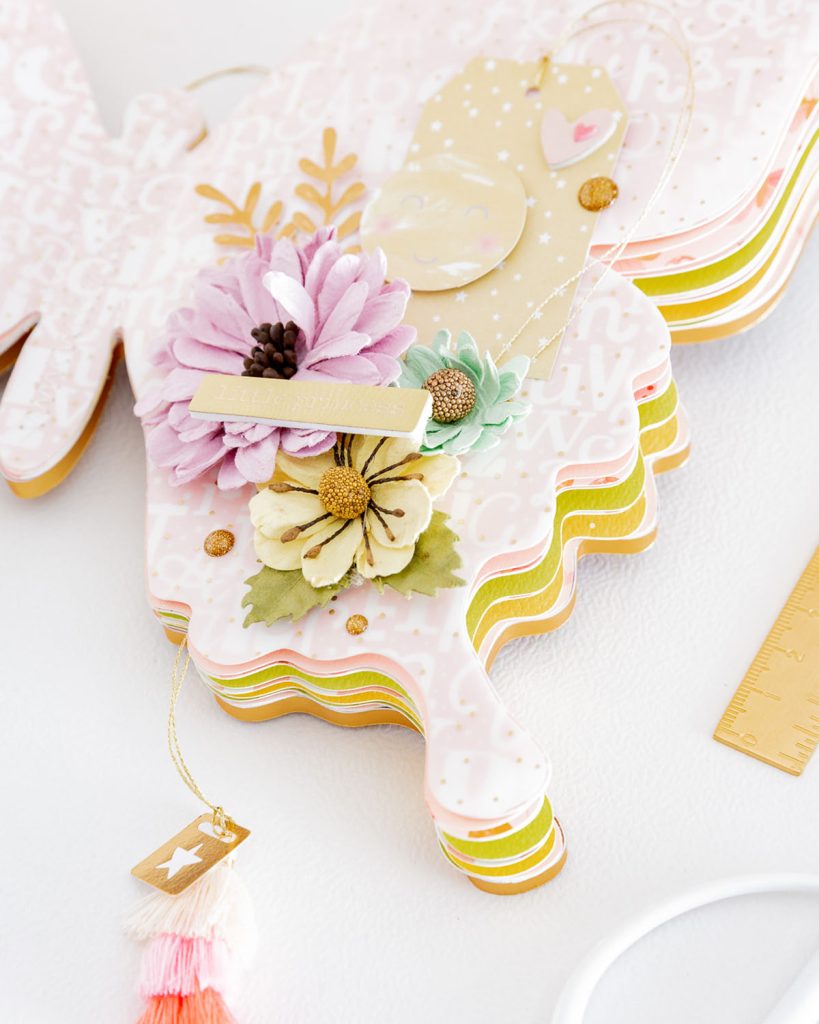
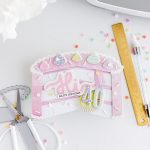
El interior del mini álbum se compone por todo el resto de las piezas en forma de mariposa que hemos cortado. Debemos pegarlas a todas unas sobre otras por el cuerpo de la mariposa (dejando libres las alas). Es en esta pieza final sobre la que pegamos el señalador y, finalmente, la portada. Las páginas irán levantándose a medida que añadamos todos los detalles decorativos (es justamente lo que buscamos).
The inside of the mini album consists of all the remaining butterfly-shaped pieces we have cut. We need to glue them all together at the body of the butterfly (leaving the wings free). This final piece is where we attach the bookmark, and finally, the cover. The pages will lift as we add all the decorative details (which is exactly what we want).
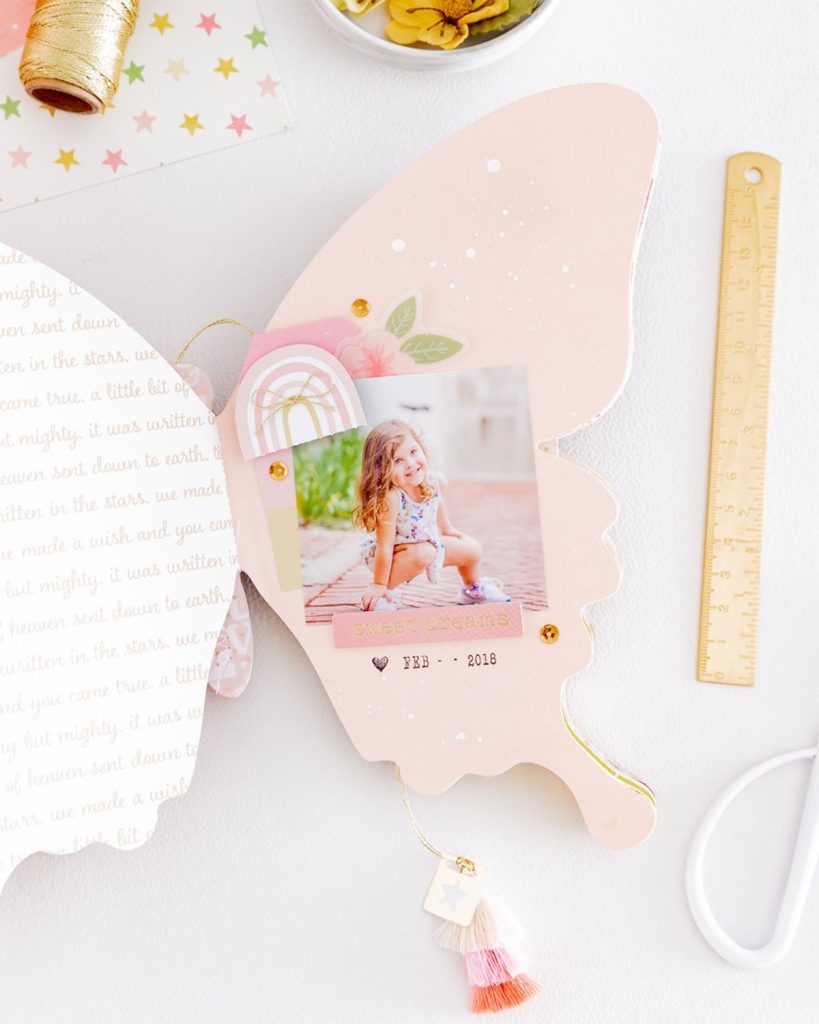
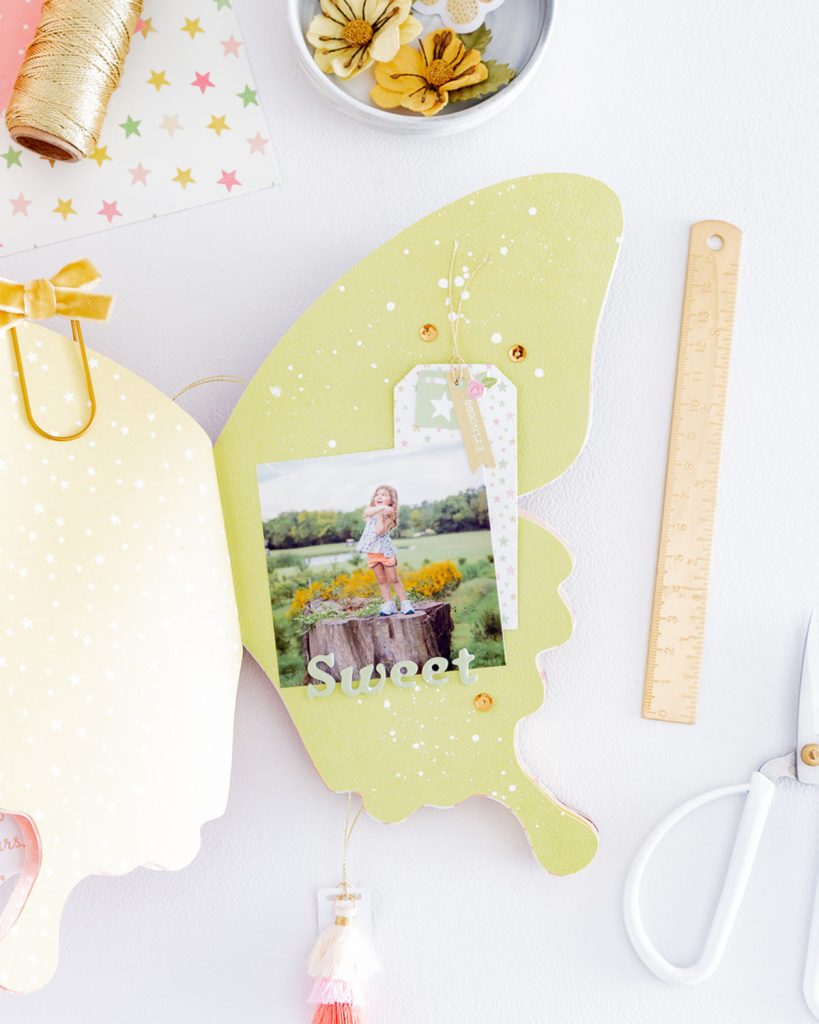
Podemos añadir detalles de acuarela blanca en las páginas de colores lisos, detalles de hilo dorado y todo aquello que les guste.
We can add white watercolor details on the solid color pages, gold thread accents, and anything else you like.
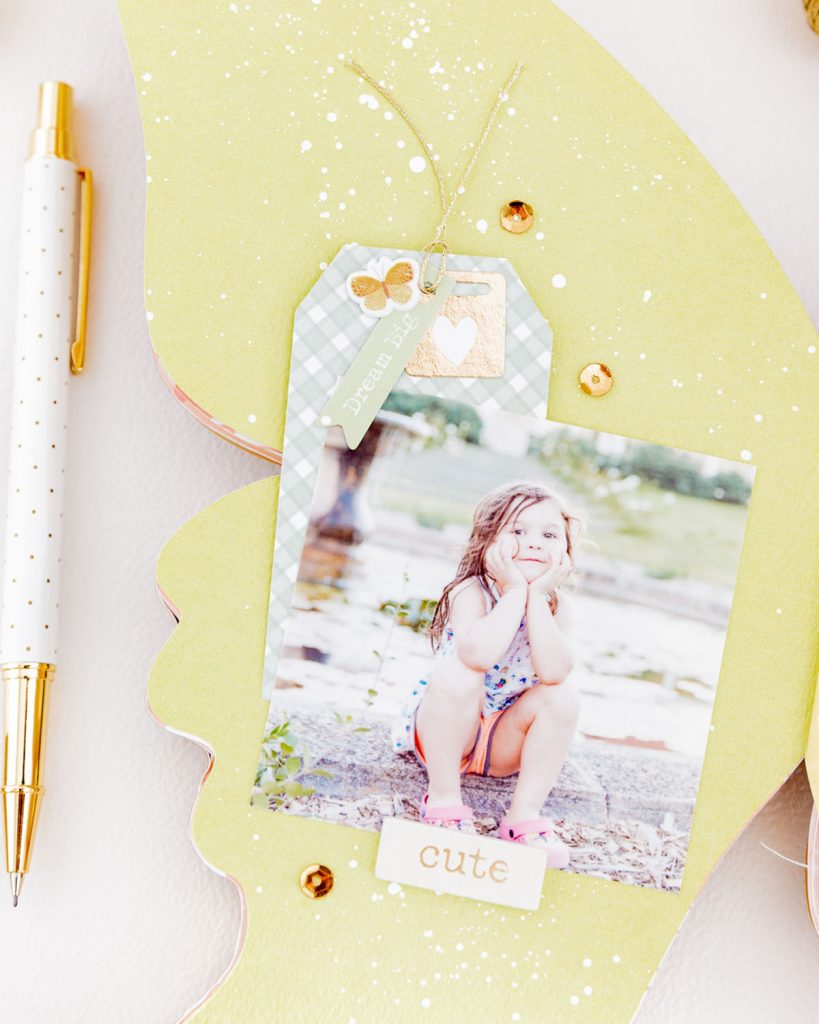

Es un mini álbum con mucho espacio para fotos, recuerdos y journaling ¡es ideal!
It’s a mini album with plenty of space for photos, memories, and journaling—it’s perfect!
Aquí les comparto el tutorial completo, paso a paso, con tips y consejos para hacer este mini álbum.
Here, I share the complete step-by-step tutorial with tips and advice for making this mini album.
Es una propuesta distinta y que les permitirá aprovechar todas esas piezas de madera, que tienen en casa o ven en las tiendas, de una forma diferente.
It’s a unique project that will allow you to use all those wooden pieces you have at home or see in stores in a different way.
Espero que esta idea haya sido inspiradora y que puedan hacer muchas versiones ¡Gracias por estar aquí!
II hope this idea has been inspiring and that you can create many versions. Thank you for being here!
Los enlaces de afiliados se aplican sin costo adicional para usted. ¡Gracias por tu apoyo!
Affiliate links apply at no extra cost to you. Thanks for your support!


 17.11.36")


2 comentarios
Divinooo!!! ♥️ love you!!!!
Muchas gracias Mary!