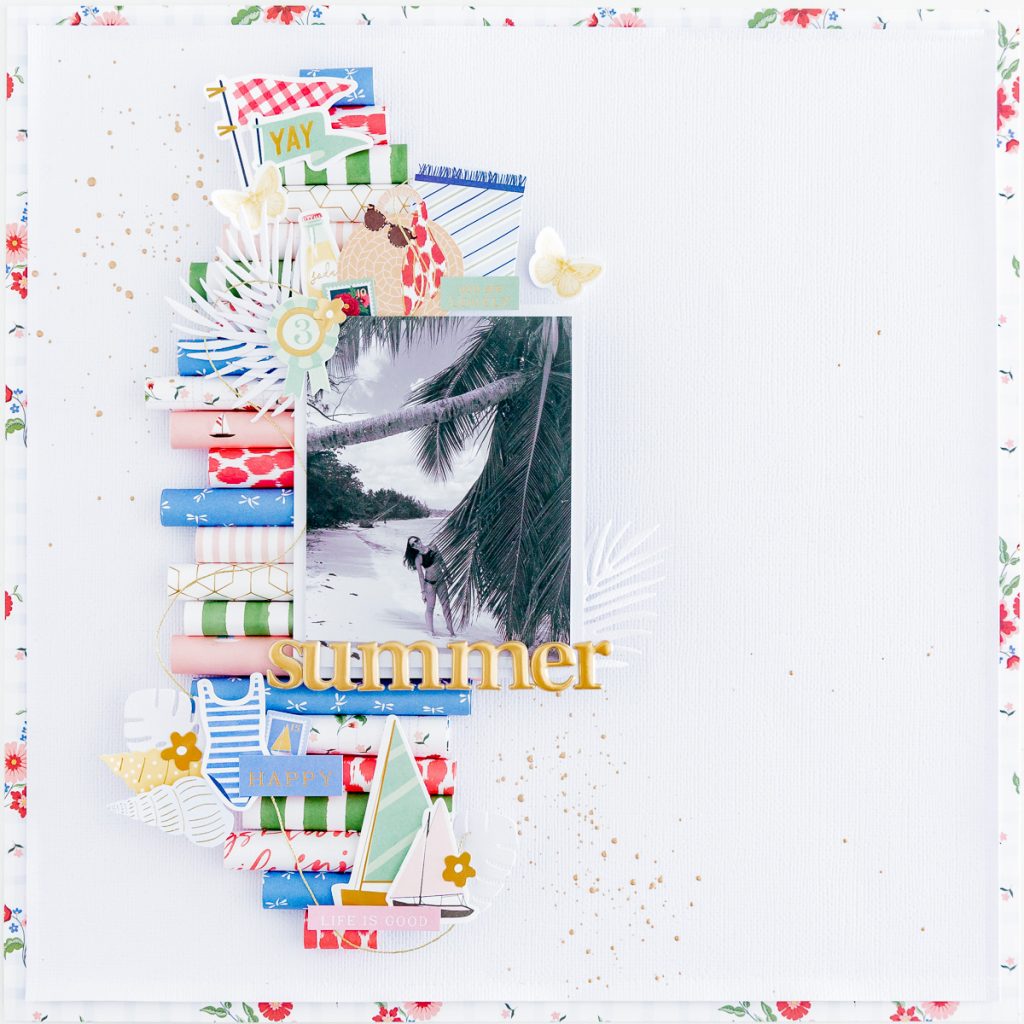
¡Hola a todos! Bienvenidos nuevamente a mi blog. Ha pasado algún tiempo desde la última vez que compartí tutoriales con ustedes… pero la espera ha terminado ¡comenzamos ya mismo! Y para este primer tutorial les tengo una idea preciosa con la marca Spellbinders. En esta oportunidad usaré la nueva colección “Bayfair” by Rosie’s Studio junto a Spellbinders. Es una preciosidad… sus detalles son hermosos. ¿Comenzamos?
Hello everyone! Welcome back to my blog. It’s been a while since I last shared tutorials with you… but the wait is over. Let’s get started right away! For this first tutorial, I have a beautiful idea featuring the brand Spellbinders. This time, I will be using the new “Bayfair” collection by Rosie’s Studio along with Spellbinders. It’s absolutely gorgeous… the details are stunning. Shall we begin?
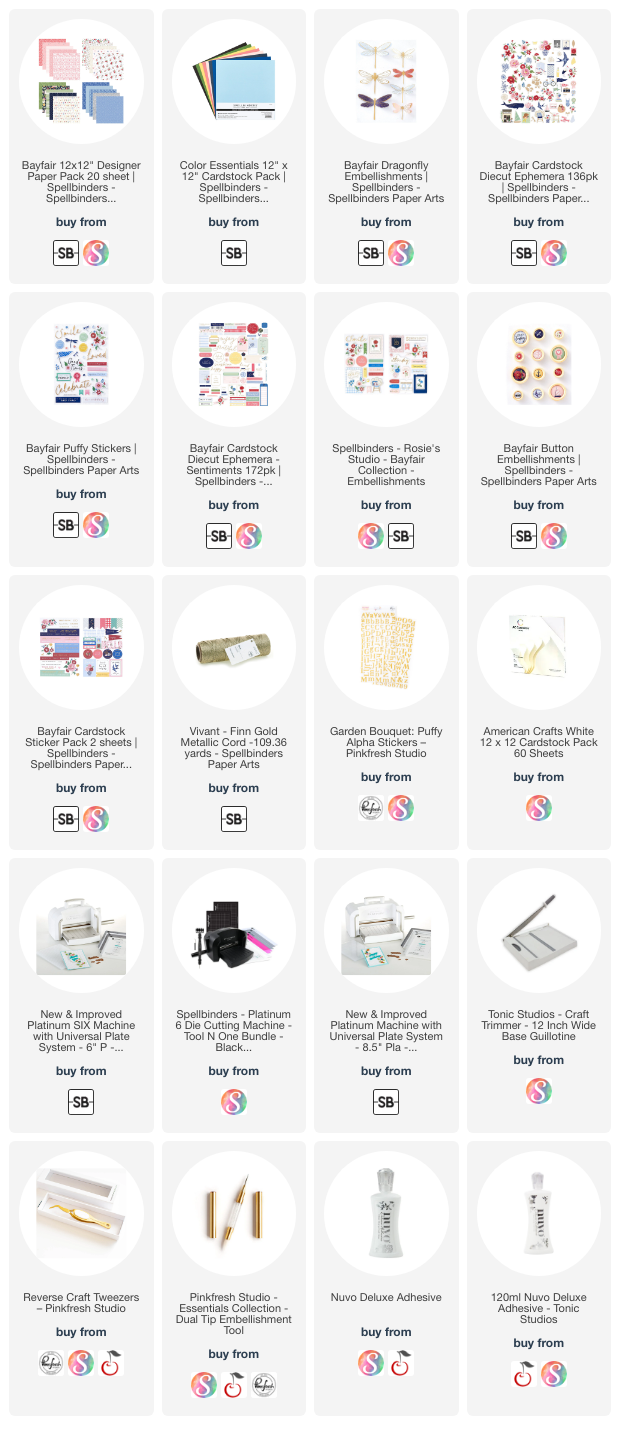
*** Lista de completa de productos / Complete Product list – AQUI/HERE ***
Base del Layout / Layout Base:
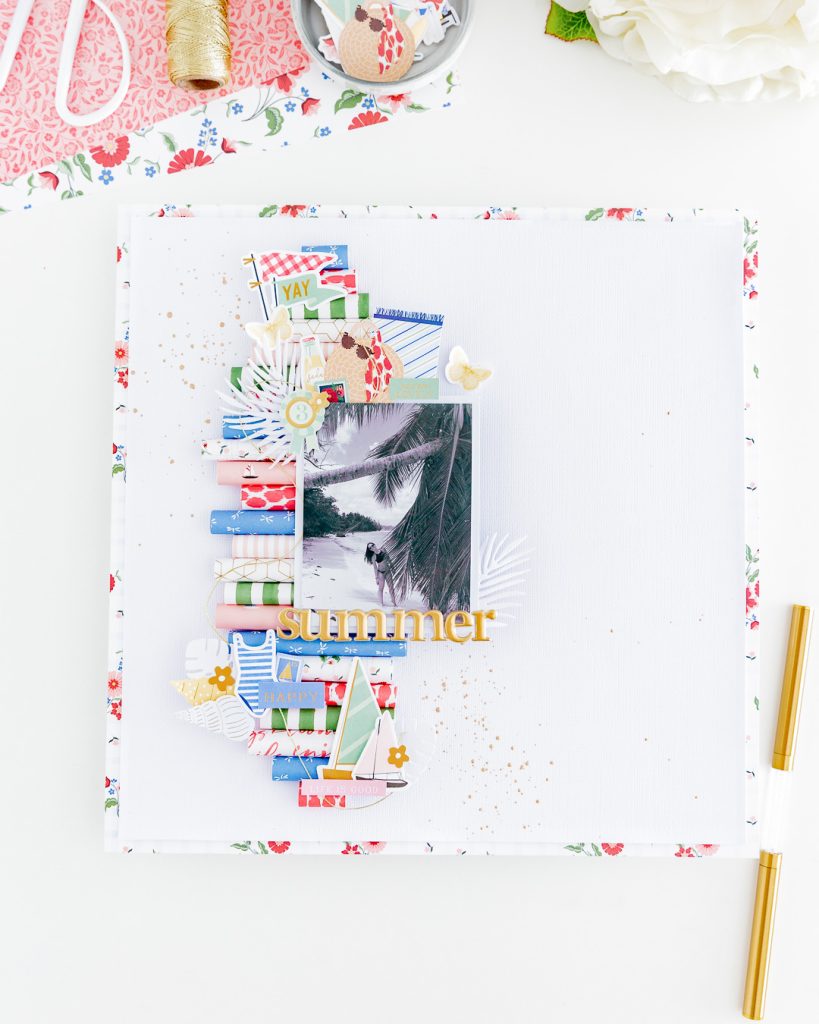
Para la base utilicé uno de los papeles de la colección junto con un cardstock blanco texturizado (encuentras el detalle en la lista de materiales). Quita 1/2″ al ancho y alto total de la hoja de cardstock blanco y pégala sobre la hoja de papel de diseño. Puedes añadir un detalle de costura alrededor.
For the base, I used one of the papers from the collection along with a textured white cardstock (you can find the details in the materials list). Trim 1/2″ off the total width and height of the white cardstock sheet and stick it to the design paper. You can add a stitching detail around the edge.
Detalles decorativos / Decorative details:
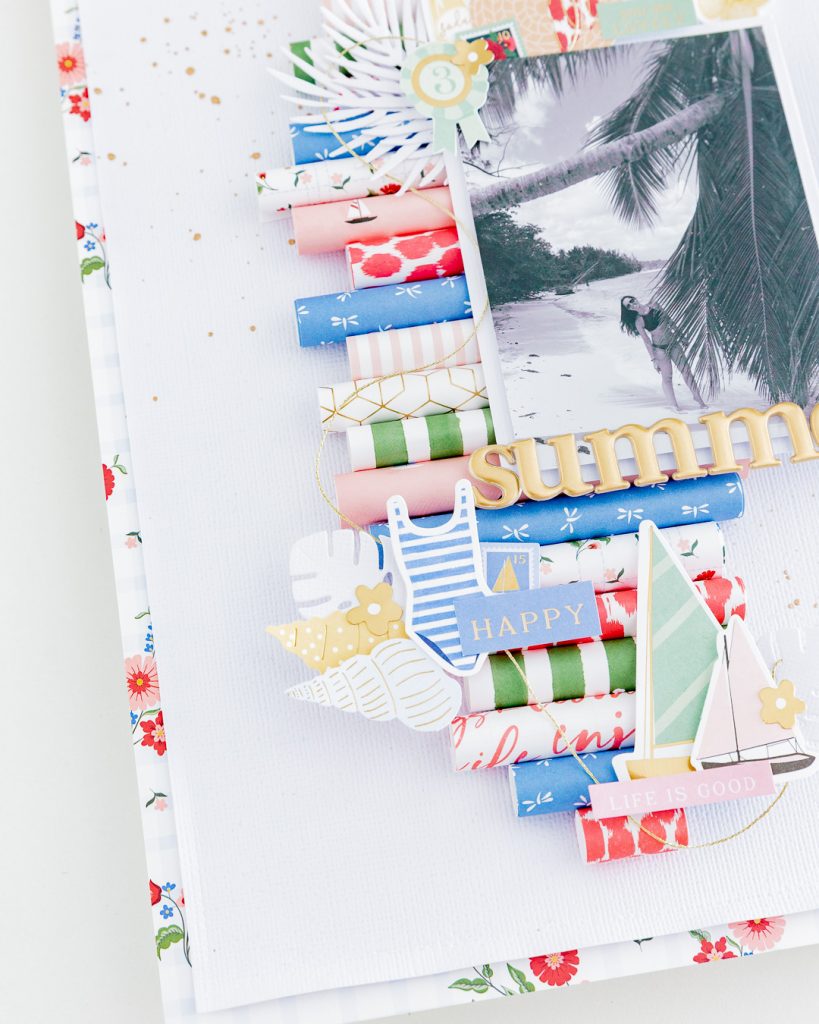
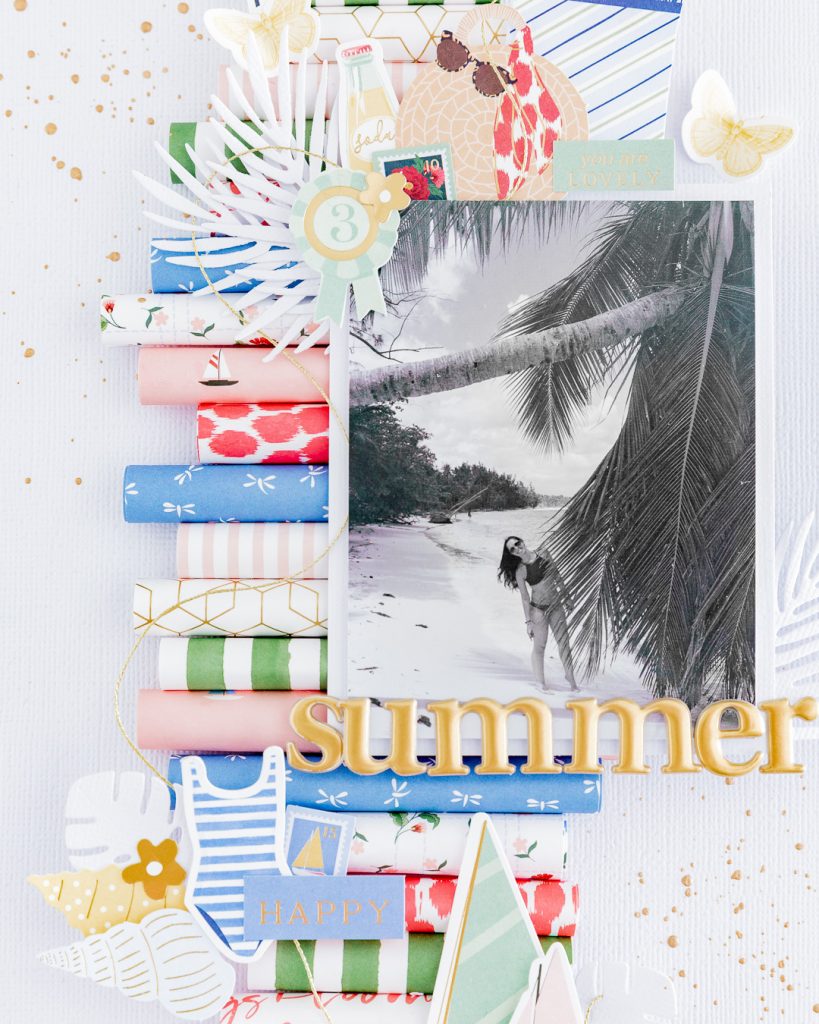
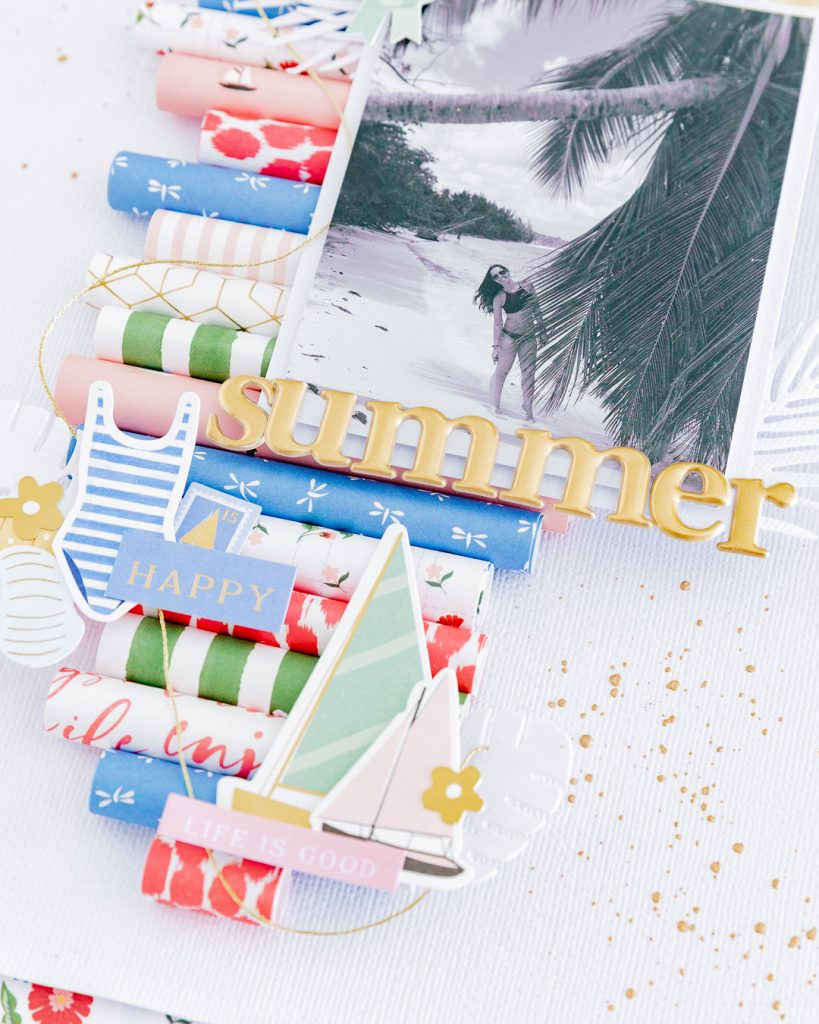
Para preparar este layout utilicé los distintos papeles del pack de 12×12 para hacer “rollitos” usando un lápiz o elementos similar. Debes cortar los papeles de distintas longitudes para obtener rollitos de distintos tamaños. Así podrás combinar colores y tamaños y armar una buena base vertical que hará de fondo para nuestra foto y elementos decorativos. Las medidas que he usado son: 1 1/2″ 2″, 2 1/2″, 3″. Cuando ya los tengas todos y hayas decidido su ubicación puedes comenzar a pegarlos en la base.
To prepare this layout, I used the different papers from the 12×12 pack to prepare paper “rolls” using a pencil or similar tool. You should cut the papers into various lengths to obtain rolls of different sizes. This way, you can mix colors and sizes to create a sturdy vertical base that will serve as a background for our photo and decorative elements. The measurements I used are: 1 1/2″, 2″, 2 1/2″, and 3″. Once you have them all and have decided on their placement, you can start gluing them onto the base.
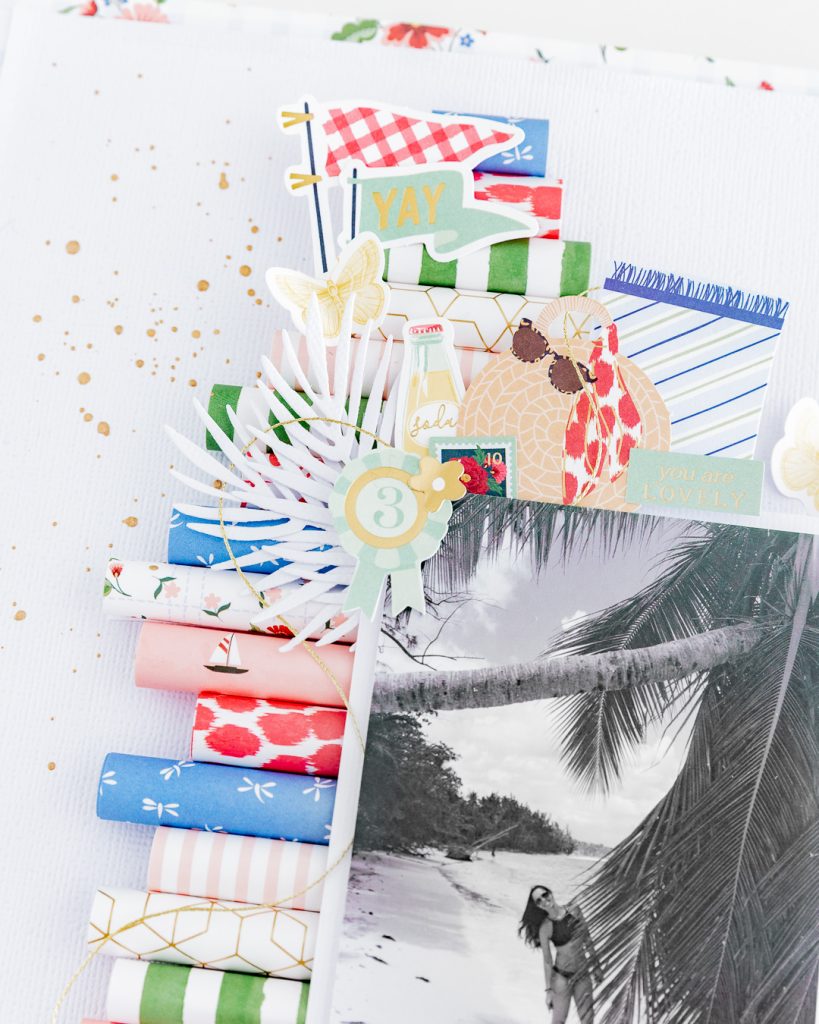
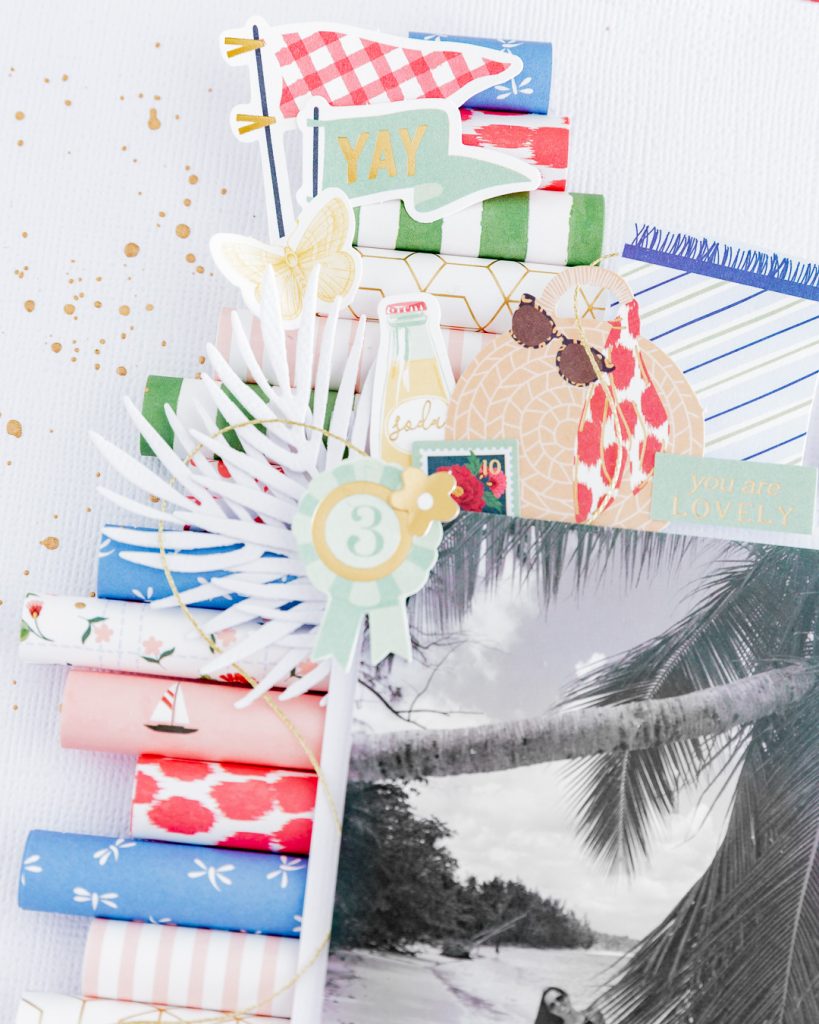
Una vez pegados todos los rollitos de papel podemos comenzar a decorar sobre ellos. La foto que he añadido es de 3″ de ancho x 4″ de alto (previamente pegada a una base de cardstock blanco). He combinado elementos del ephemera pack + cardstock stickers + piezas troqueladas de hojas. También añadí un título con el alfabeto puffy.
Once all the paper rolls are glued down, we can start decorating on top of them. The photo I’ve added measures 3″ wide x 4″ high (previously mounted on a white cardstock base). I combined elements from the ephemera pack, cardstock stickers, and die-cut leaf pieces. I also added a title using the puffy alphabet stickers.
Detalles especiales / Special details:
Hay dos detalles especiales que he añadido a la composición. Ellos son: acuarela metalizada dorada e hilo dorado. La acuarela podemos aplicarla al terminar (cubriendo nuestra foto con un trozo de papel o vellum) o antes de hacer la decoración. El hilo dorado da un bellísimo detalle de terminación. Nos da la sensación visual de unir todas las piezas de una forma divertida y original.
There are two special details that I’ve added to the composition: metallic gold watercolor and gold thread. The metallic watercolor can be applied at the end (covering our photo with a piece of paper or vellum) or before decorating. The gold thread adds a beautiful finishing touch, visually connecting all the pieces in a fun and original way.
Un layout fresco, divertido y muy original que puedes hacer una tarde en casa. Y si quieres ver cómo ha sido mi proceso haz “clic” en el siguiente botón…
A fresh, fun, and very original layout that you can create one afternoon at home. And if you want to see how my process was, click on the button below…
Espero que esta idea haya súper inspiradora y que te animes a hacer tu propia versión la maravillosa colección Bayfair ¡Gracias por estar aquí!
I hope this idea has been super inspiring and that you feel encouraged to create your own version with the wonderful Bayfair collection. Thank you for being here!
Los enlaces de afiliados se aplican sin costo adicional para ti. ¡Gracias por tu apoyo!
Affiliate links apply at no extra cost to you. Thanks for your support!
¡Hola! Soy Celes, el alma creativa tras “Guía de Manualidades”, un mundo de color, arcoíris y confeti. Gracias por estar por aquí y por permitirme compartir contigo todo aquello que me gusta y me apasiona hacer. Te invito a descubrir un mundo de creatividad infinita y darle vida a aquello que sueñas…
Compartir: